
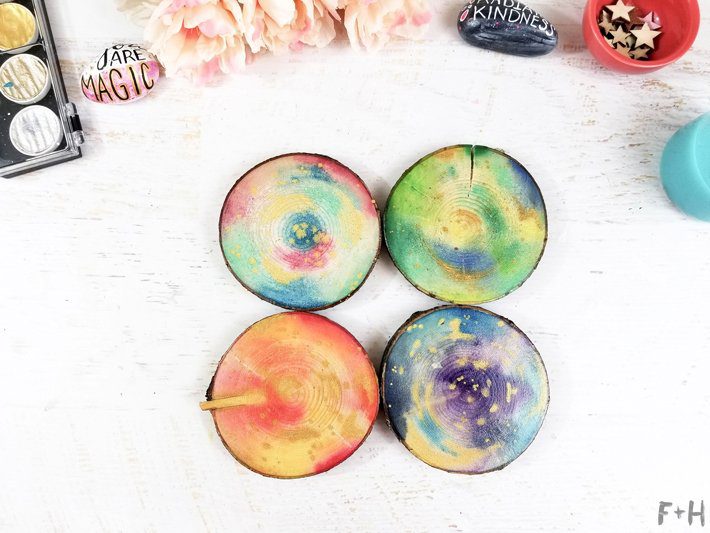
DIY Watercolor Wood-Slice Coasters
Some links in this post are affiliate links to products I love!
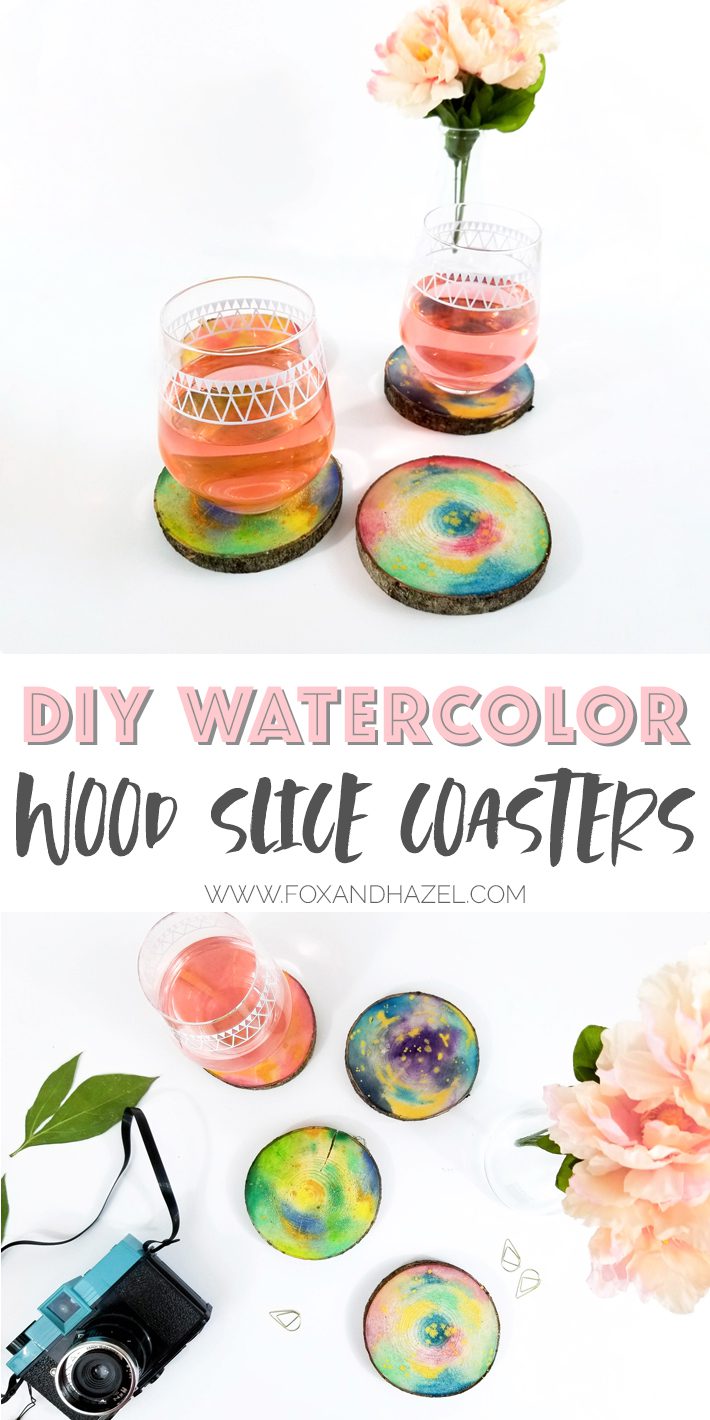
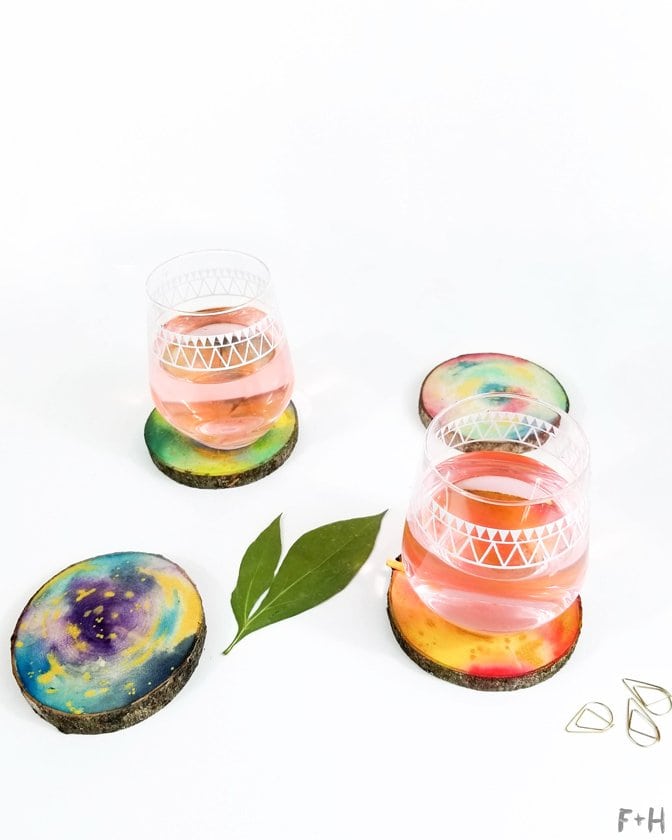
Today I’m sharing how to make some easy & colorful watercolor wood-slice coasters! These wood slices have been kicking around my supplies since my brother’s wedding, and I finally had an idea for them! We just moved house, and I realized we didn’t have any coasters for our living room. Suddenly I knew what I could use these wood slices for! They are fun, really easy to make and a fun conversation starter for the next time you have drinks with friends!
Read on below to see how I made these watercolor wood-slice coasters!
 Supplies you will need:
 Supplies you will need:
- 3.5-4″ wood slices
- Liquitex Professional Clear Gesso
- Watercolor paints (I’m using the Kuretake Gansai Tambi set!)
- Mica or metallic watercolor paints (I’m using the Finetec Metallic Gold Palette)
- Clear gloss spray paint
- Paint marker in white or black

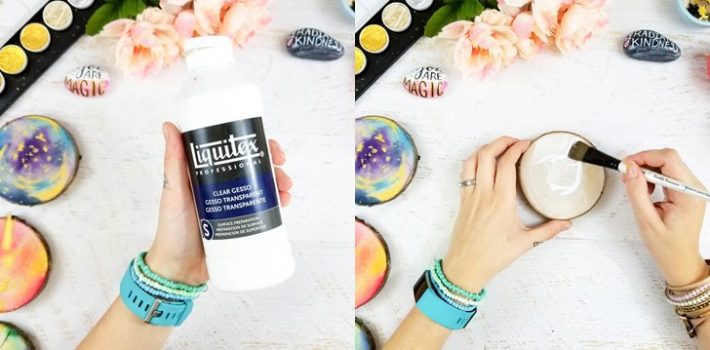
Step One: First you will need to prep your wood slice by sanding off any rough surfaces. Then apply two coats of clear gesso to the side you want to paint on. This is a painting medium that helps prepare your wood to accept the watercolor paint, without instantly being absorbed by the wood. You don’t have to use it, but the effect of the paints will come out a bit differently. Let the gesso dry completely before moving on to paint.
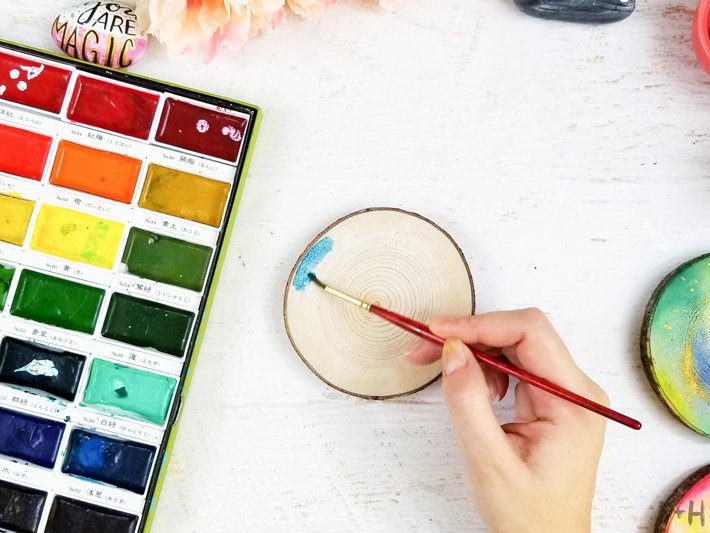
Step Two: Once the gesso is dry, bust out those watercolor paints and start adding color to your wood-slice coaster! Use whichever colors you like best! I did mine in a rainbow of colors, so you could do that or make a matching set too. You will need to reapply the watercolor paint in a couple of layers to ensure the color is saturated enough. Another tip: Use a small spray bottle to spray the woodslice first, and then start to paint on top. This helps the paint to flow around the wood-slice and creates softer bleeds around the colors. Keep working until you are happy!
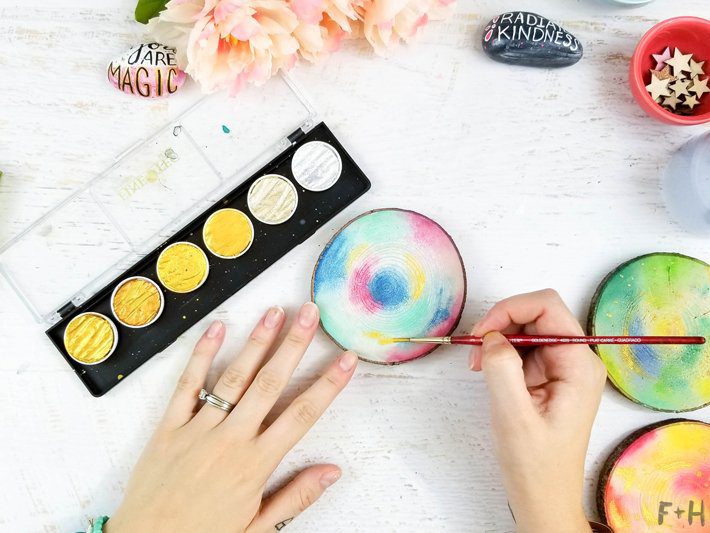
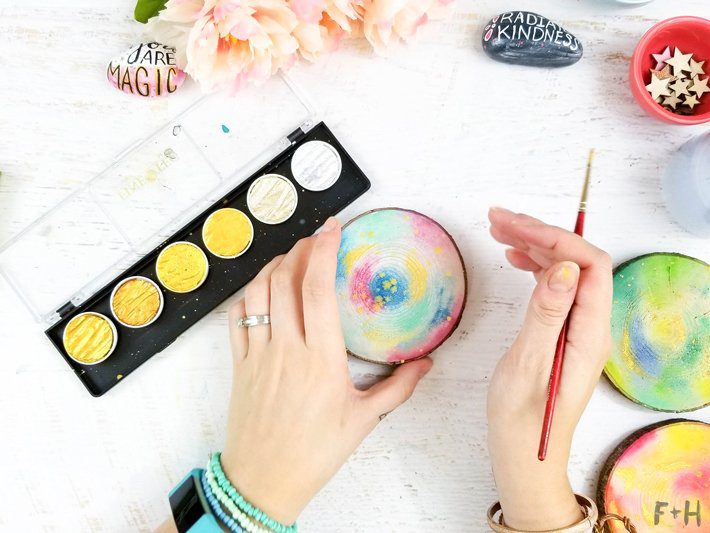
Step Three: Next, add in some metallic watercolors while the paint is still wet. This will add some shine & glam to your coasters. You can use whatever you like here, but I’m using my trusty Finetec metallic gold palette. I painted in some larger spots with the gold watercolor, and then flicked my brush to create a spatter effect across the surface. This makes the gold look more organic and will bleed into the other colors beautifully!
 Step Four:
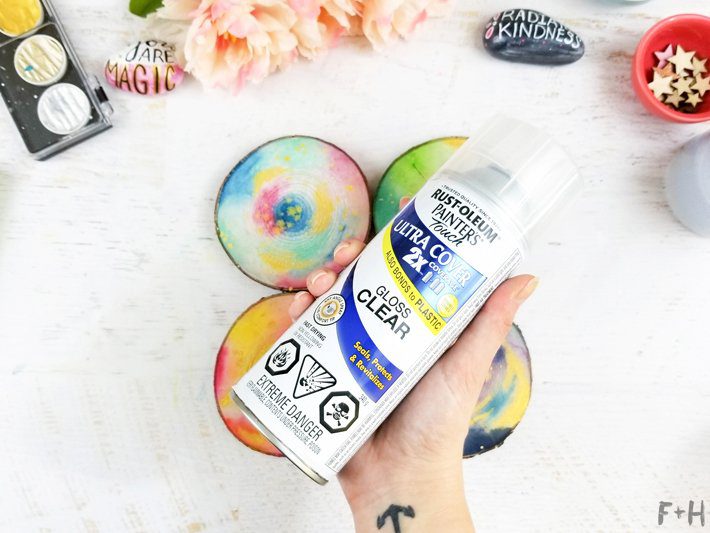
Let the watercolor paints dry completely. Once dry, take your cute little wood-slice coasters either outside or somewhere ventilated to spray with gloss clear coat. You will want to apply 2-3 coats to get a good seal on your coasters and let them dry the full recommended time. They won’t be truly “waterproof”, but the clear coat will help seal the paints in so a stray drop of wine won’t ruin your art!
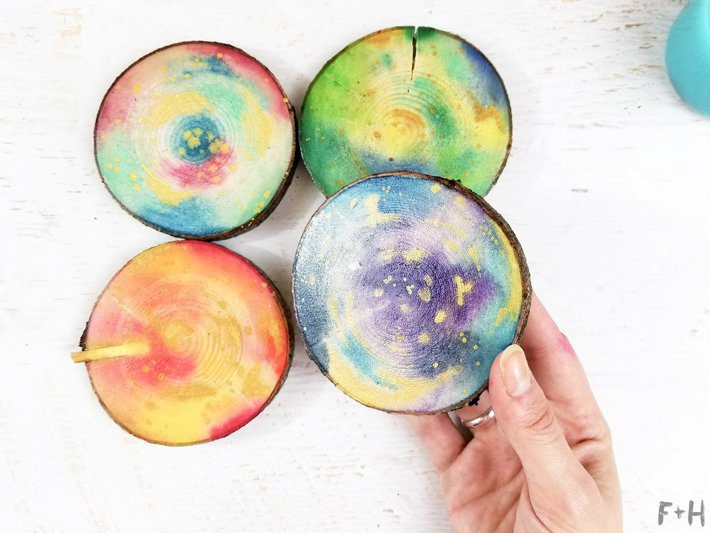
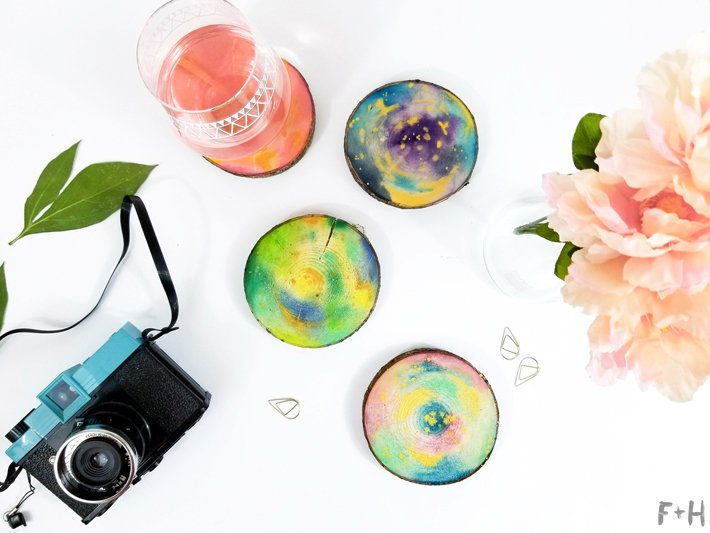
Step Five (optional): Use the white or black paint markers to draw or write on the coasters! You could make them festive, silly or add some floral drawings on top. I left mine blank because I love the watercolors on their own!
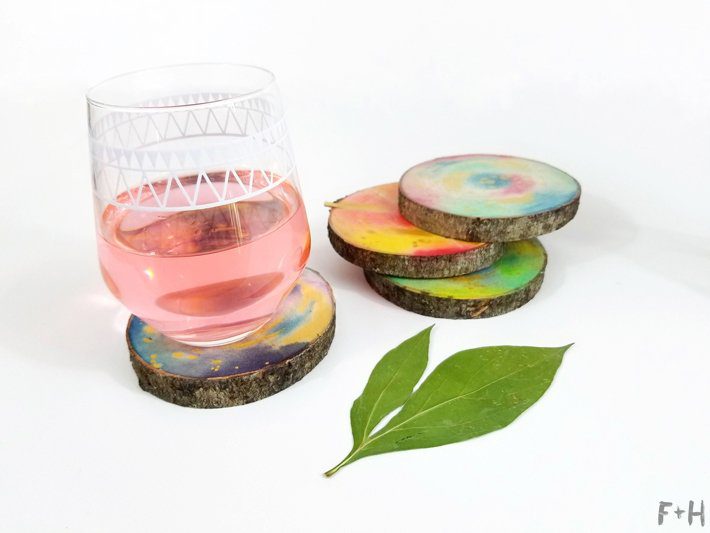
Now your lovely coasters are all done! These would make a lovely Christmas gift with a bottle of wine for a friend, or for your own party guests to enjoy! I love the mix of

2 Comments
Corporate DJ
February 15, 2018 at 8:46 pm
I so love this idea for a craft and one we will have to do this holiday season thanks for sharing this one.
torrielynn
February 18, 2018 at 11:15 am
You’re welcome – I’m glad you like it! 😀