
How to Create an Art Journal Texture Page with Stencils and Modeling Paste
Some links in this post are affiliate links to products I love!
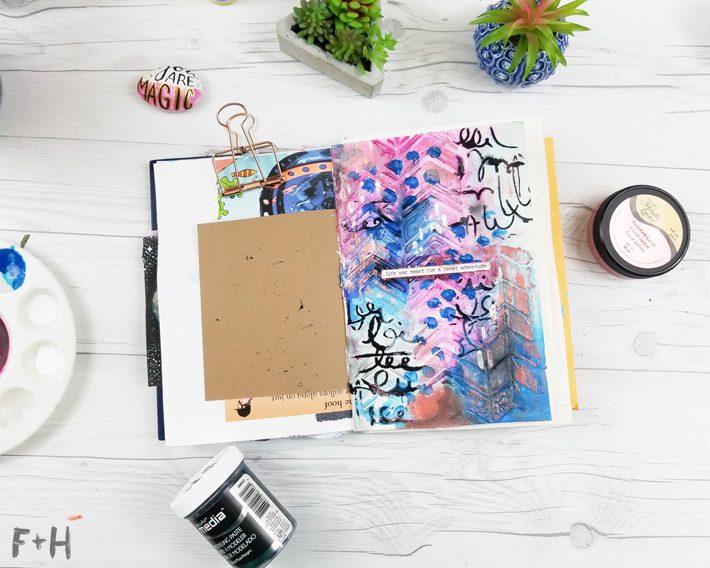
If you have ever wanted to create an art journal texture page that looks totally layered and complex but is actually pretty doable, this tutorial is for you. In fact, modeling paste and stencils are basically a cheat code for instant texture – and once you try it, you will want to add texture to absolutely everything.
I make art journal pages almost every day, and this technique is one I keep coming back to. Honestly, there is something so satisfying about pressing modeling paste through a stencil and lifting it off to reveal a crisp, dimensional design underneath. It honestly feels like magic every single time.
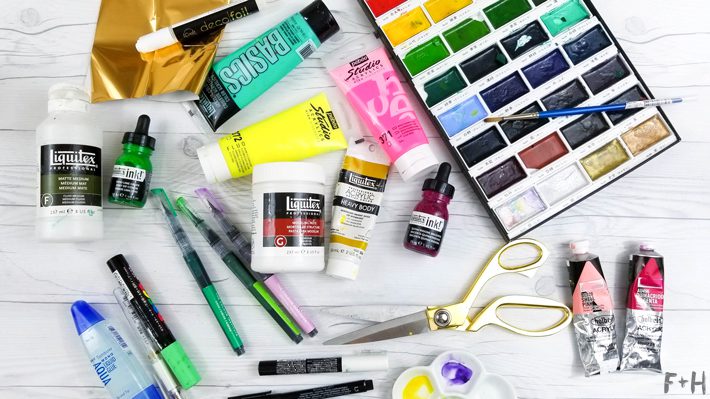
Supplies You Will Need For Your Art Journal Texture Page
To make this art journal texture page, you will need:
- Modeling paste in white and black
- White gesso
- A couple of stencils in any design you love
- Acrylic paint or spray misters
- Fluid acrylic in white
- A shimmer mister
- Metallic wax finish
- Japanese Sumi ink
- A palette knife or old gift card
- Phrase stickers or stamps
I used DecoArt products throughout this tutorial and love how their misters and modeling paste layer together, but any good quality modeling paste will work for the technique.
Step 1: Apply white modeling paste over a stencil.
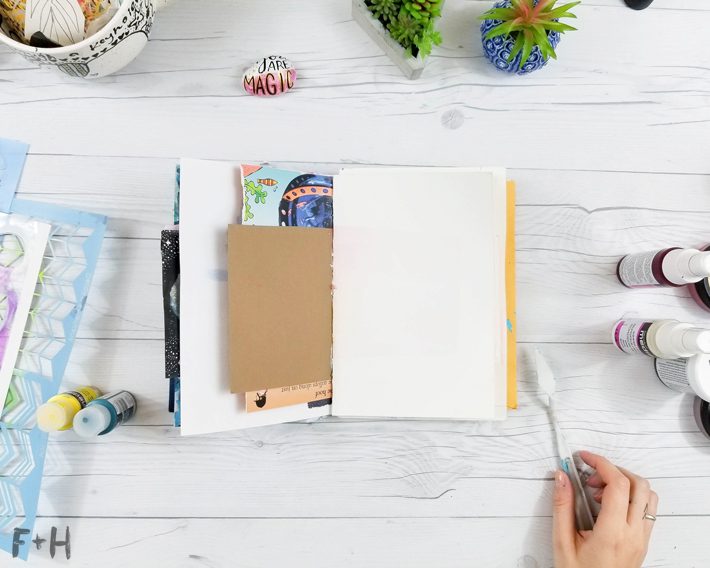
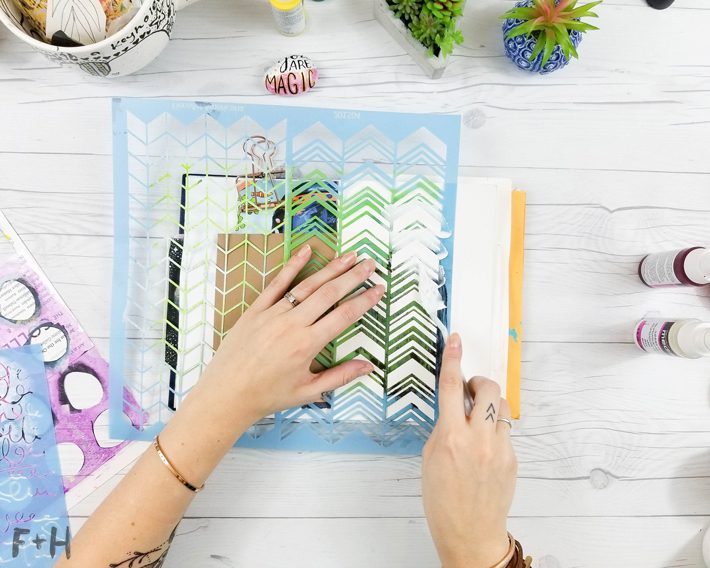
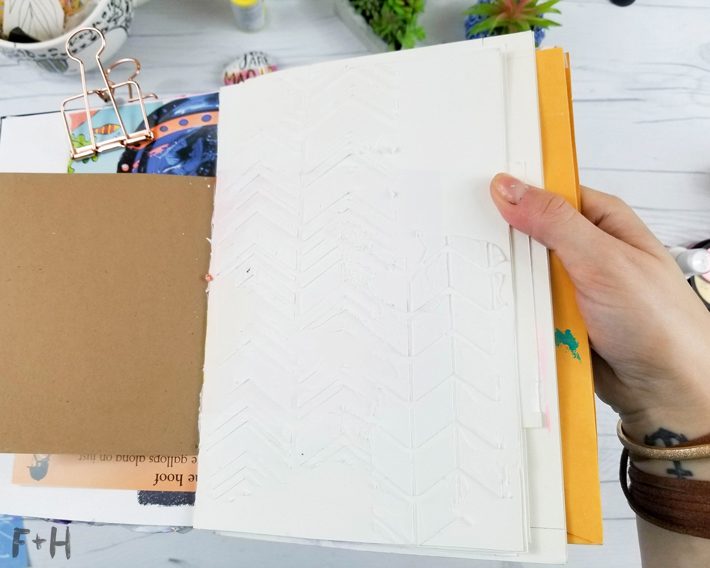
Lay your stencil flat on your journal page and spread white modeling paste over it using a palette knife or an old gift card. Then, lift the stencil straight up to reveal the design underneath. Let it dry fully, or speed things up with a heat gun.
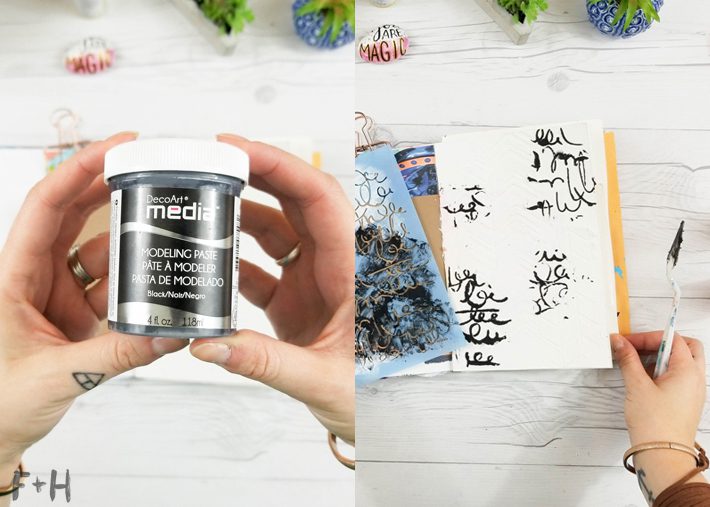
Step 2: Add a second layer with black modeling paste.
Repeat the same process with black modeling paste and a different stencil, overlapping the first layer slightly. Together, the contrast between white and black adds instant depth to your art journal texture page and makes both layers pop.
Step 3: Add color with misters or watered-down paint.
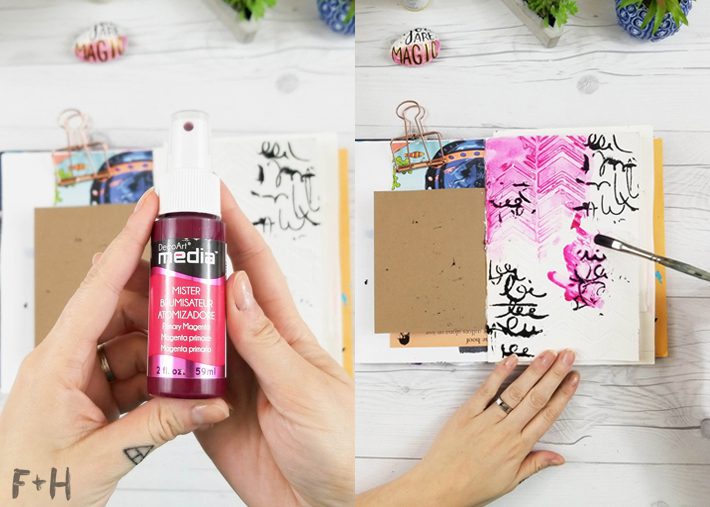
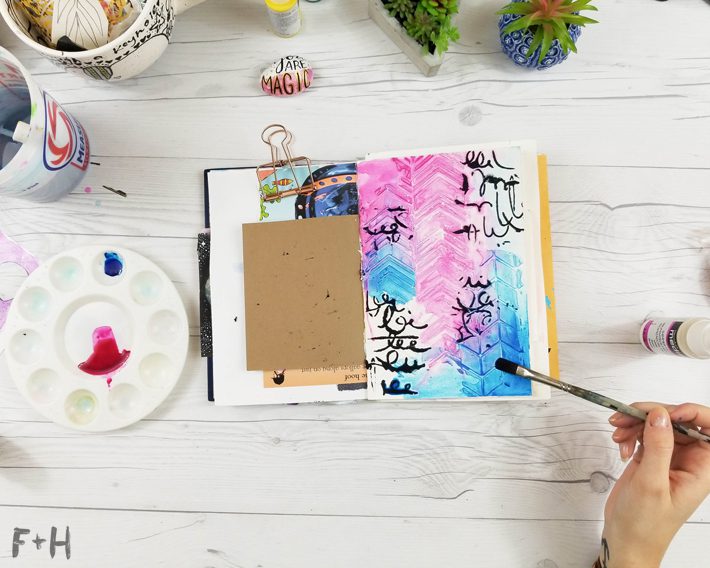
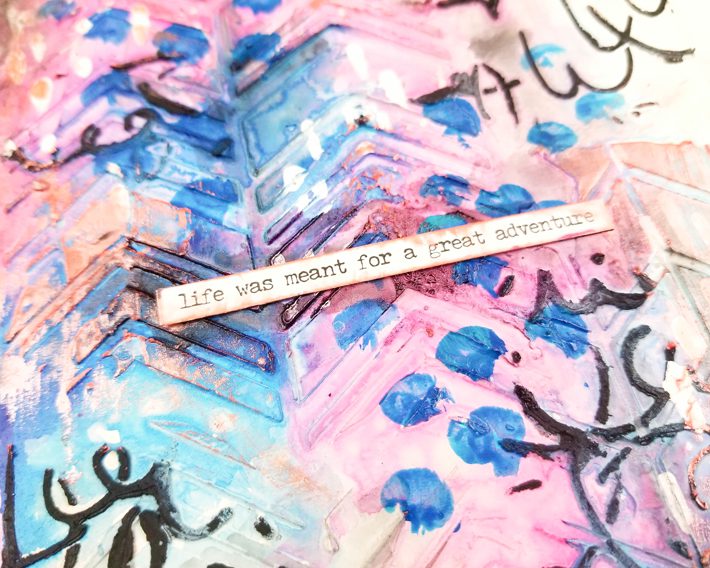
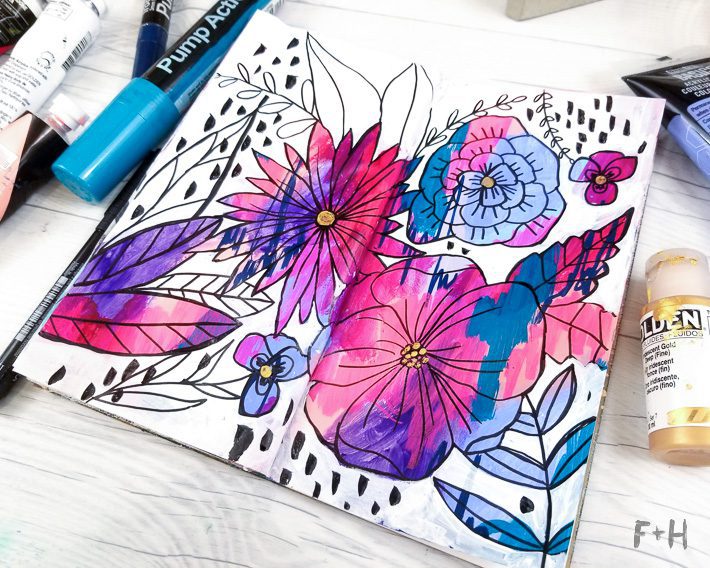
This is where things get really fun. Use acrylic spray misters or thin your paint with water to a watercolor consistency, then brush it over the page. As it dries, the paint pools into all the nooks and crannies around the modeling paste and creates natural contrast. I used magenta and phthalo blue, and the way they blend together is genuinely so satisfying.Choose complementary colours that will blend nicely when they mix or you’ll end up with a murky art journal page!
Step 4: Add white splatters and marks.
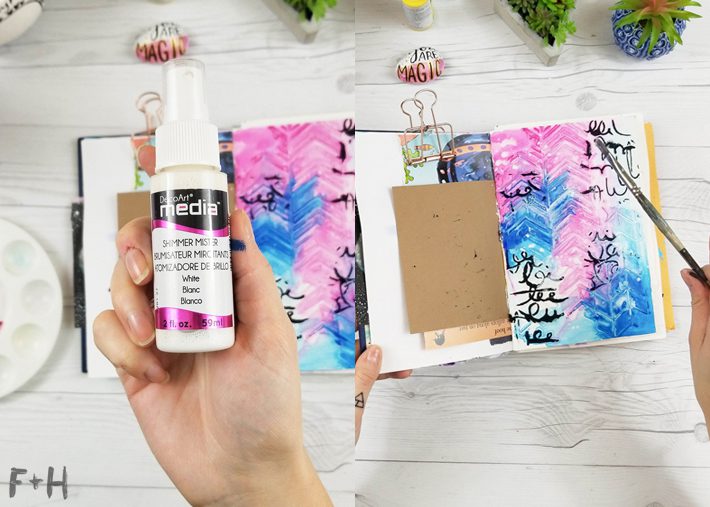
After that, load a brush with fluid white acrylic or a shimmer mister and flick it across the page for organic splatters. This step adds movement and stops the page from feeling too flat or too controlled.
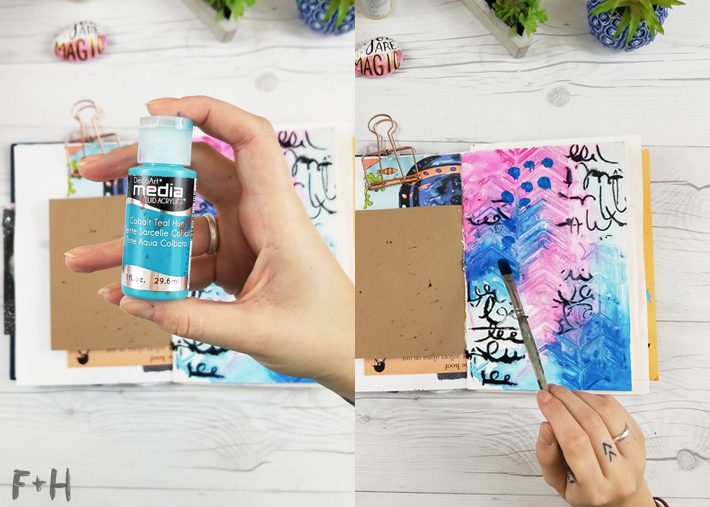
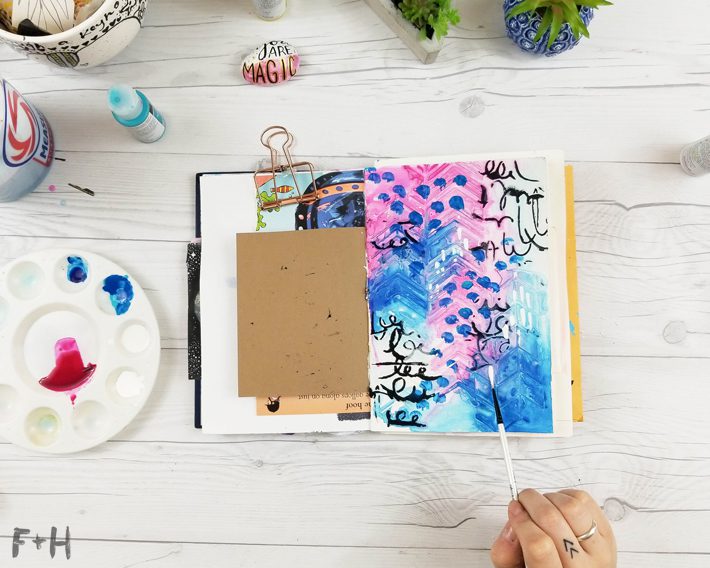
Step 5: Highlight the texture with metallic wax.
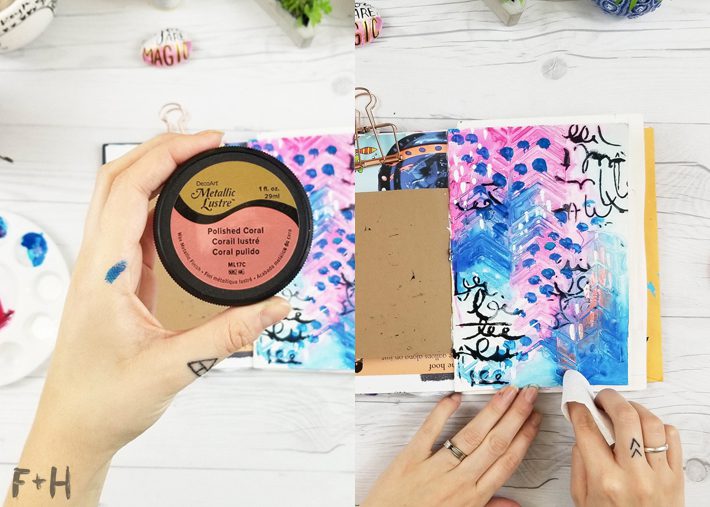
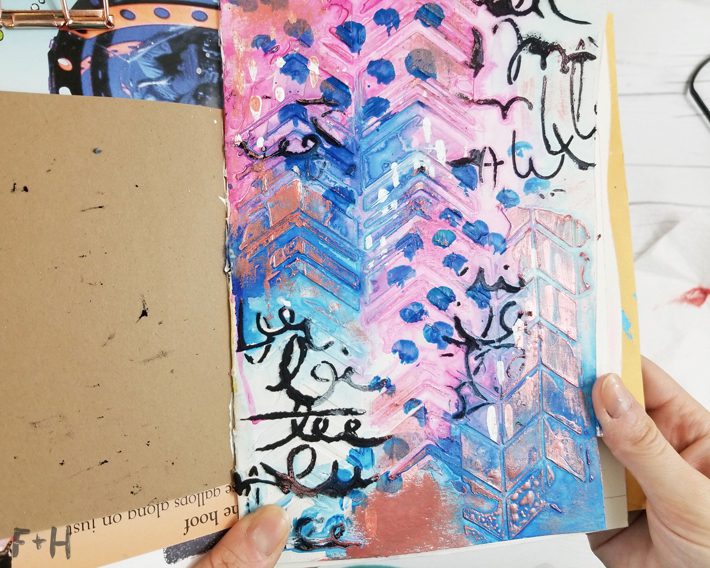
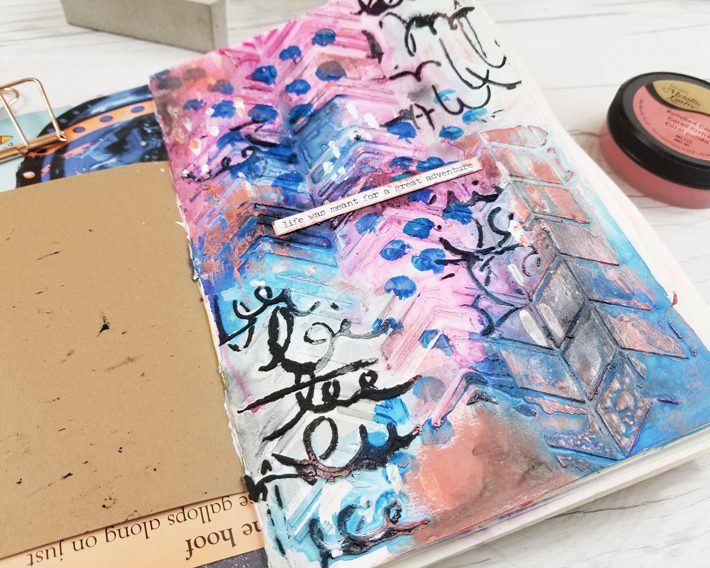
Rub a small amount of metallic wax onto a paper towel, then lightly buff it over the raised modeling paste. It catches on the high points and makes the texture pop in a way that feels almost three-dimensional. This is honestly one of my favorite steps because the whole page suddenly looks more intentional.
Step 6: Glaze over the page with diluted ink.
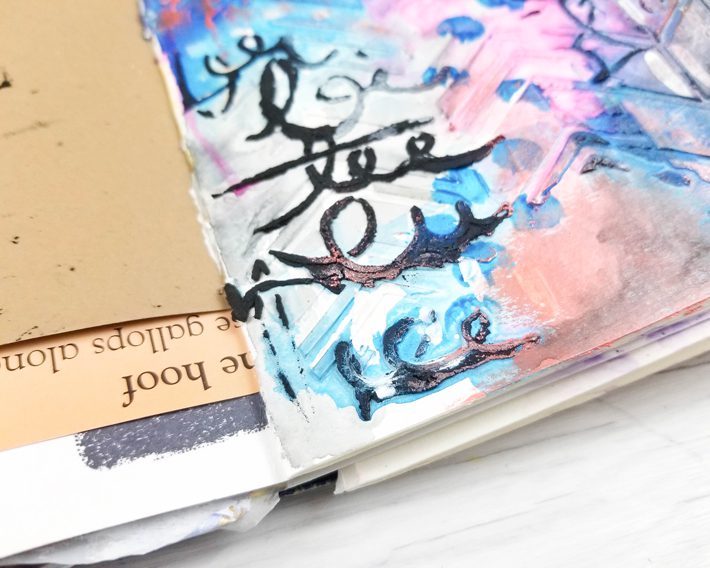
Mix a small amount of Sumi ink with water and brush it over sections of the page as a glaze. This tones down any colors that are too vivid and gives the whole page a cohesive, slightly grungy feel. Start with less than you think you need – you can always add more.
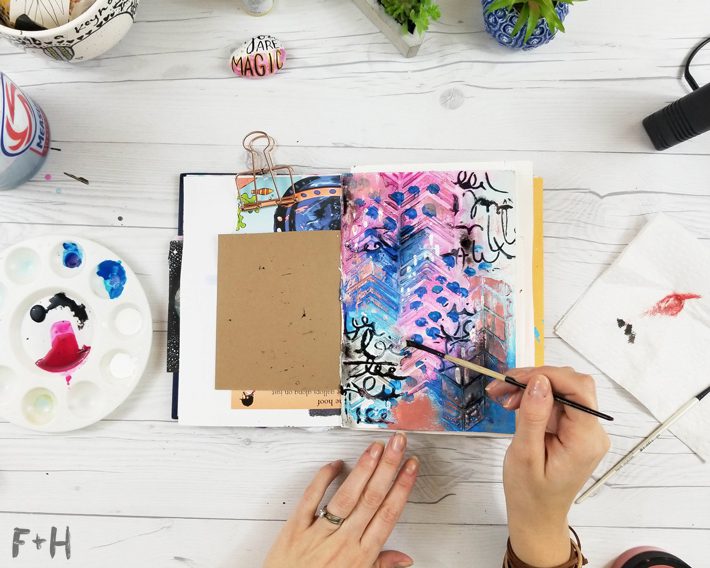
Step 7: Add your phrase or focal point.
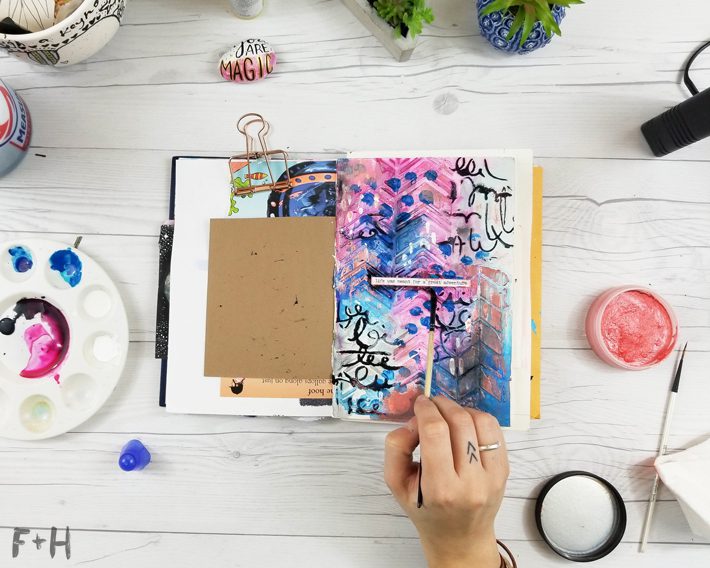
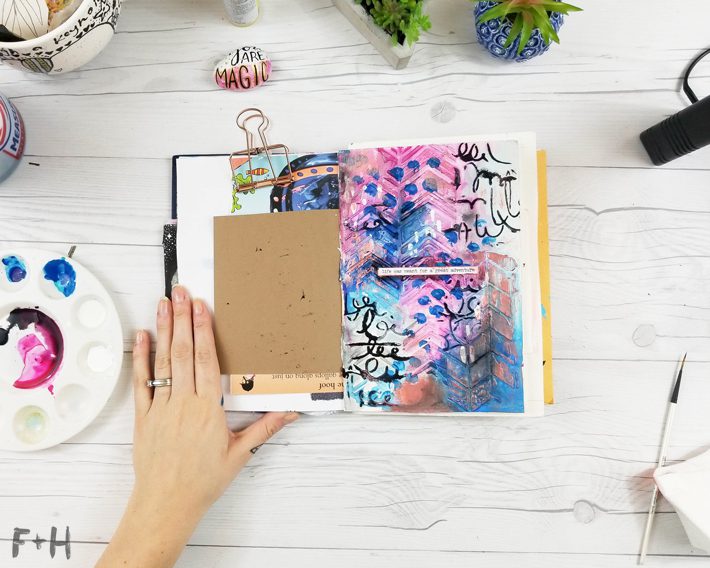
Press phrase stickers or stamped words onto the page. Do not overthink placement – just go with what feels right and adjust from there
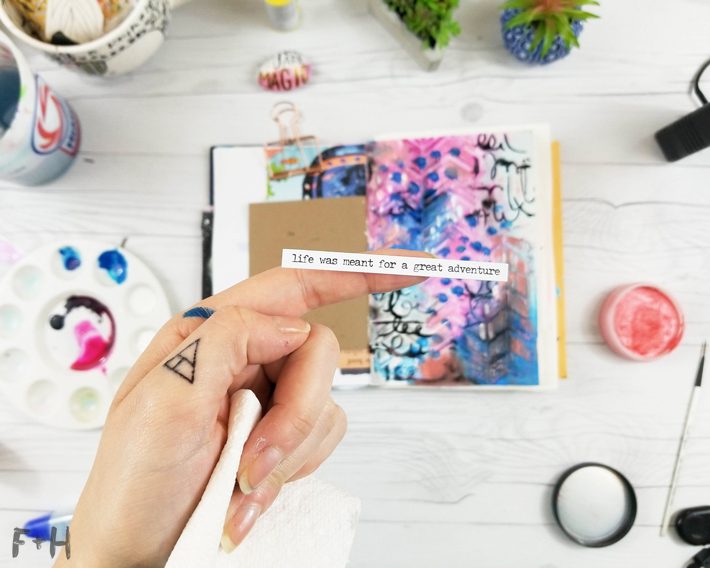
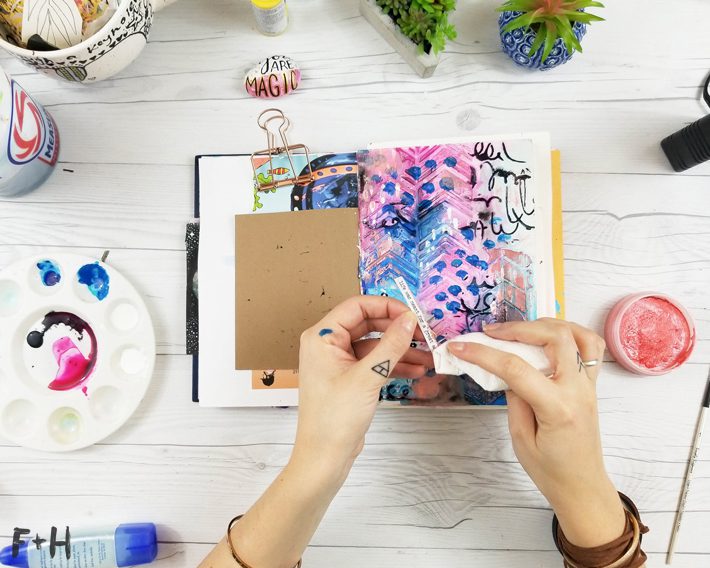
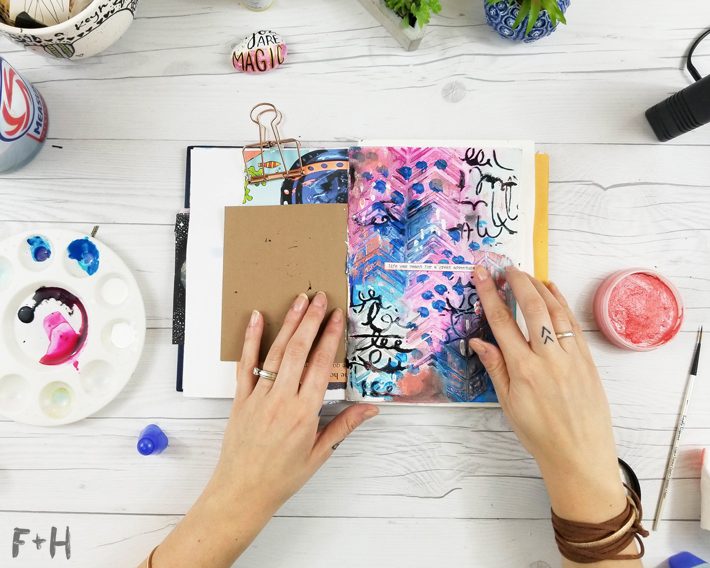
Step 8: Frame your phrase with wax and ink.
Use a bit more metallic wax and a touch of tinted ink around your phrase to help it blend into the background. This step makes the text feel like it belongs to the page rather than just sitting on top of it.
Tips for Your Next Art Journal Texture Page
First, do not skip the drying time between modeling paste layers. If the paste is still wet when you add paint, it will smear and you will lose the crisp edges that make it look so good. Second, do not be afraid to go dark with the Sumi ink glaze. It feels scary, but it is almost always an improvement. Finally, spread any leftover modeling paste onto cardstock or index cards to build a stash of pre-textured backgrounds you can use in future pages.
Art journaling is not about being perfect – it is about building up layers and seeing what comes out of it. So go make a mess. It is completely worth it.
If you’d like more art journal tutorials, be sure to check out this spring art journal page, this buttery fly inspired page and these 12 affordable art journal supplies to get started!
Love art supplies? You can check out all my favourite art supplies HERE.

9 Comments
How To Create an Easy Watercolor Art Journal Page | Page Flutter
February 17, 2022 at 11:56 am
[…] You’re done! This page is really easy at the end of it (even though I shared about a million photos. Ha!). If you want more art journaling tutorials, be sure to check out How To Make An Art Journal Stencil with Silhouette and How To Create Textured Backgrounds In Your Art Journal. […]
Art Journaling with Vintage Book Pages | Page Flutter
February 17, 2022 at 11:52 am
[…] Hey, friend! Torrie here from Fox + Hazel. One of my very favourite collage materials to use in art journaling is vintage book pages! They add a wonderful vintage and nostalgic feel to any spread. I also like the extra texture they provide instead of plain paper. If you’re new to art journaling with vintage book pages, then this tutorial is a perfect first step. If you want more art journaling tutorials, be sure to check out this spring art journal page, and this art journaling technique to create textured backgrounds. […]
Jennifer Nelson
October 2, 2019 at 6:34 am
Wow, this is gorgeous! I’m amazed at all the new art supplies you used! Guess I’ve been out of the loop on some of the new products that have come out, those misters and shimmery things! So yummy! Also love those stick-on phrases, great for adding a final touch to a beautiful background. Nice tutorial, easy to understand, thanks for sharing!!
Laura
February 15, 2018 at 3:30 pm
cool page!
torrielynn
February 15, 2018 at 4:05 pm
Thanks Laura! 😀
Kim
February 15, 2018 at 9:22 am
I LOVE your website, just started following a few weeks ago and have used your art as my screensaver, made stickers for my art journal and tried a couple of your tutorials which were fun and inspirational. Just wanted to say thank you and look very forward to more!
torrielynn
February 15, 2018 at 3:38 pm
Hi Kim!
I’m so happy to hear that several of my pages have been helpful to you – that puts a big smile on my face! Thanks for kind words 😀
Vanessa
February 12, 2018 at 5:24 pm
Great art journal page. I love the colors combination.
torrielynn
February 15, 2018 at 3:37 pm
Thanks so much Vanessa! Phthalo blue & quinacridone magenta were meant to be together <3