
Acrylic Paint Pouring Triptych Canvases
Some links in this post are affiliate links to products I love!
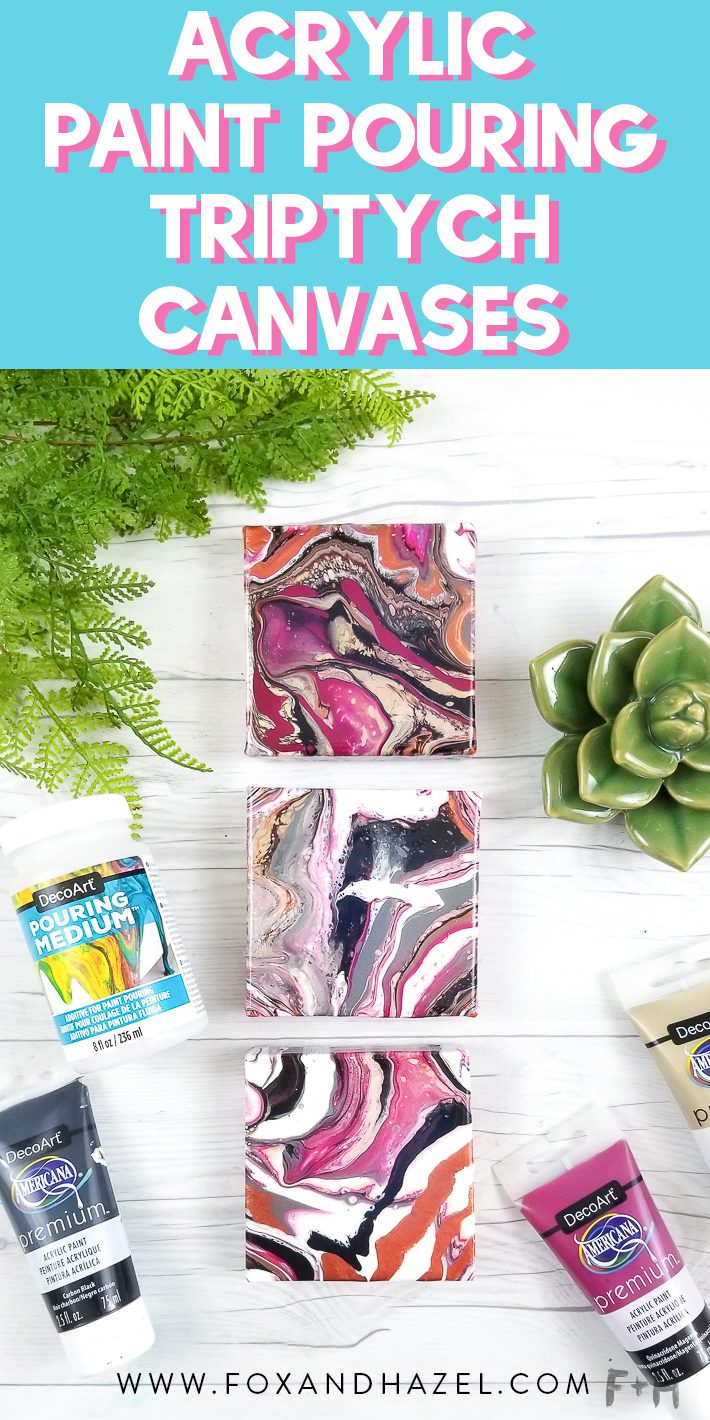
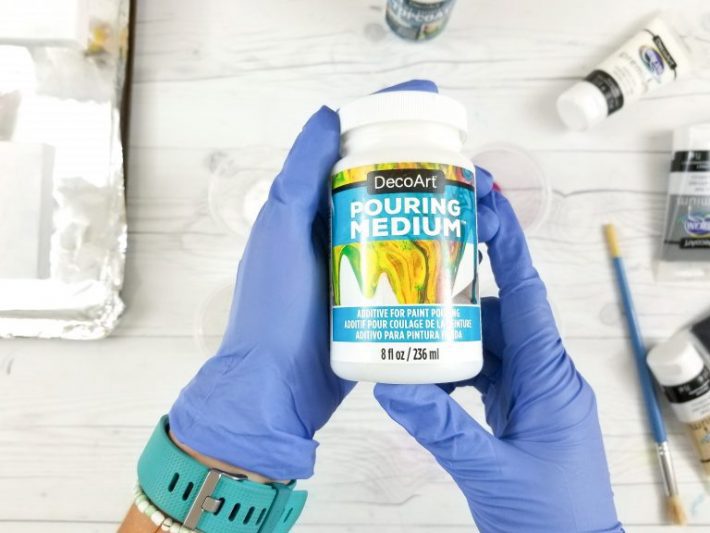
Hello friends! I’m here to share another acrylic paint pouring tutorial. Not another from my site, but another among the many on the web. Acrylic paint pouring has been on my “to try” list for almost a year, but I hadn’t gotten around to it. Then I found out that DecoArt was releasing their Pouring Medium and Clear Pouring Top Coat, and I immediately ordered some. To change it up a little bit I decided to do a mini-set of triptych canvases instead of one large painting. These little canvases are adorable at just 4″ square!!
If you’re wondering what the word triptych means, let me shine some light on this fun word! It’s a word used to describe, “a set of three associated artistic, literary, or musical works intended to be appreciated together.” according to Dictionary.com. Triptych canvases, in this case, are three canvases created simultaneously as one cohesive set of paintings, intended to be displayed together. Now you know! So, now that we’ve had some art educations, let’s move on to creating these acrylic paint pouring triptych canvases!
Supplies Used for Acrylic Paint Pouring Triptych Canvases:

- 3 – 4″ canvases
- DecoArt Pouring Medium
- DecoArt Americana Premium Acrylic Paint in colors:
- DecoArt Clear Pouring Top Coat
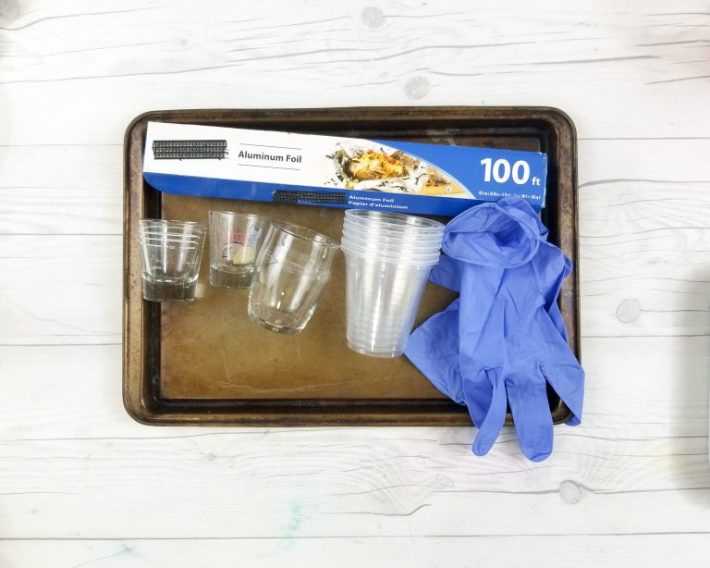
- Baking sheet
- Aluminum foil
- Nitrile gloves
- Disposable plastic gloves
- Palette knife or anything used to stir
Step One:
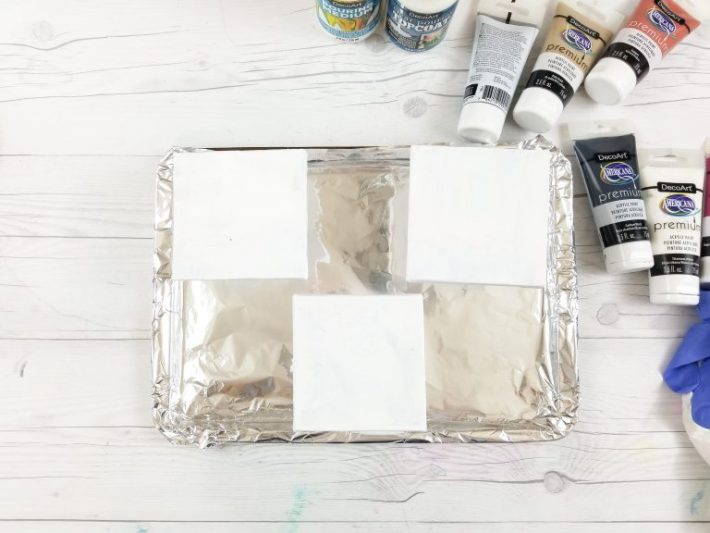

First things first, you need to prep your area! Because these canvases are so small I’m using an old baking sheet covered in aluminum foil. Acrylic paint pouring is hella messy so be sure to protect your work surface. If I were doing a bigger canvas, I would cover more areas. Thankfully these little triptych canvases are small enough that a baking sheet works. I also propped my canvases up on small shot glasses so the paint can flow over the edges.
Step Two:
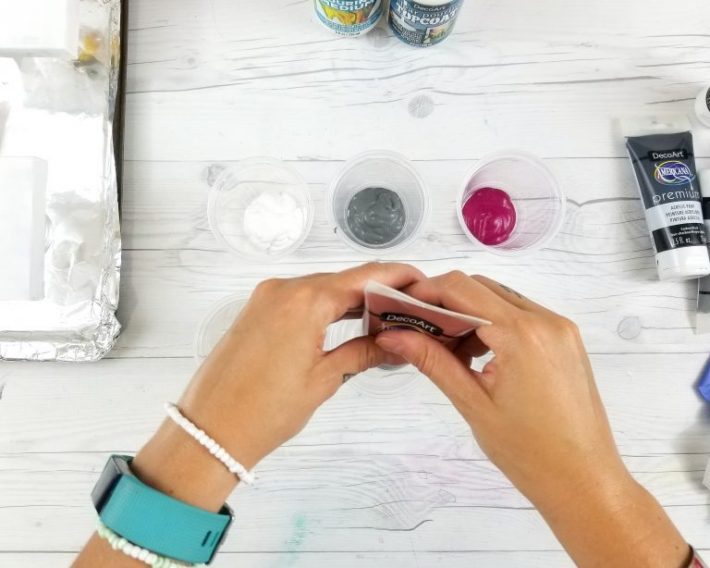
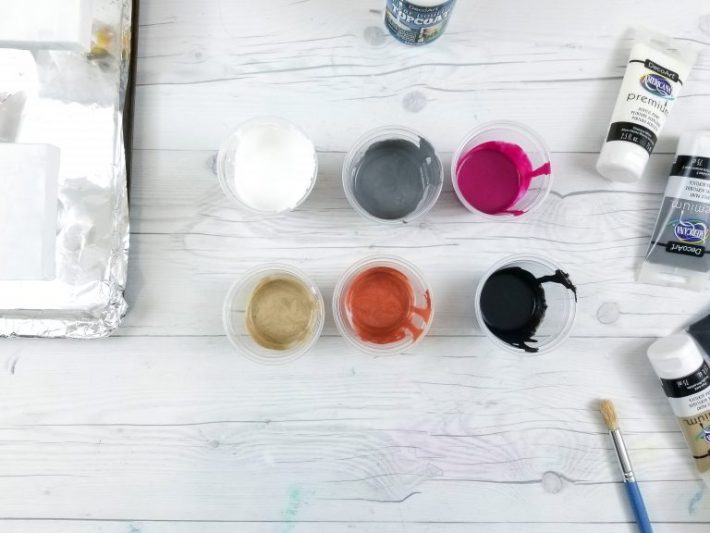
Once your area is all set up, you can move on to mixing your paints. I chose 6 different colors for my triptych canvases so I set up 6 cups and put as much paint as I wanted in each. I went easy on the dark colors because I wanted more of the white and magenta to show. You will mix a 1:2 ratio of paint to pouring medium if you are using the Premium acrylics or any acrylic paint. If you are using fluid acrylics you can use a 1:1 ratio. You want to add enough pouring medium that the paint has the consistency of thin pancake batter. Make sure the paint and pouring medium are mixed thoroughly.
Step Three:
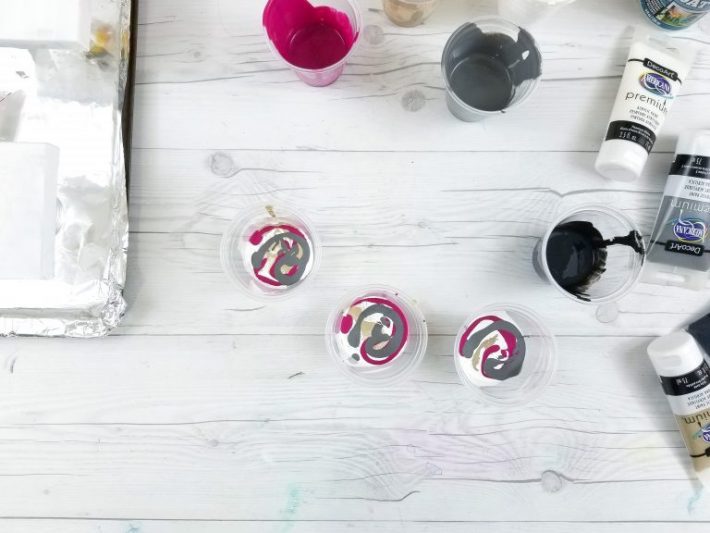
Using three more plastic cups you can start adding paint to create your dirty pours. There are a few different ways to create acrylic paint poring but the dirty pour is the easiest! Start by adding equal amounts of each color to all three cups. Be mindful of how much of each color you’re adding. Too much black or grey will cause the paintings to come out very dark. Once all three of your cups are filled, grab a plaette knife or stick and slowly stir the paint 1-2 times. That’s it! Do not overmix or your paints will start to emulsify.
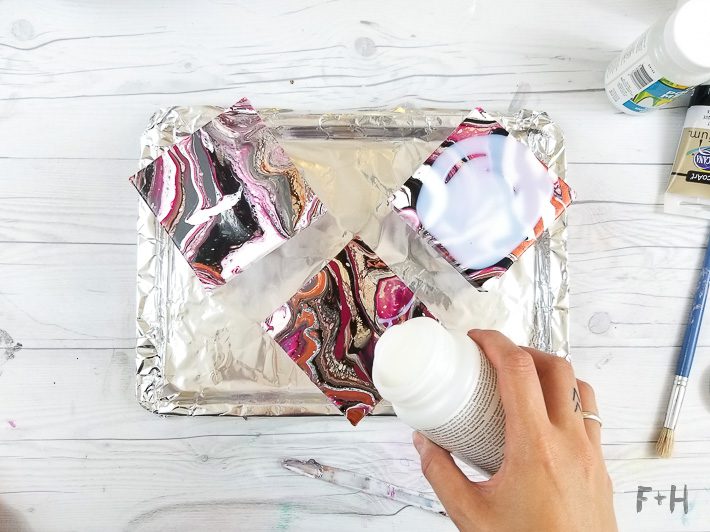
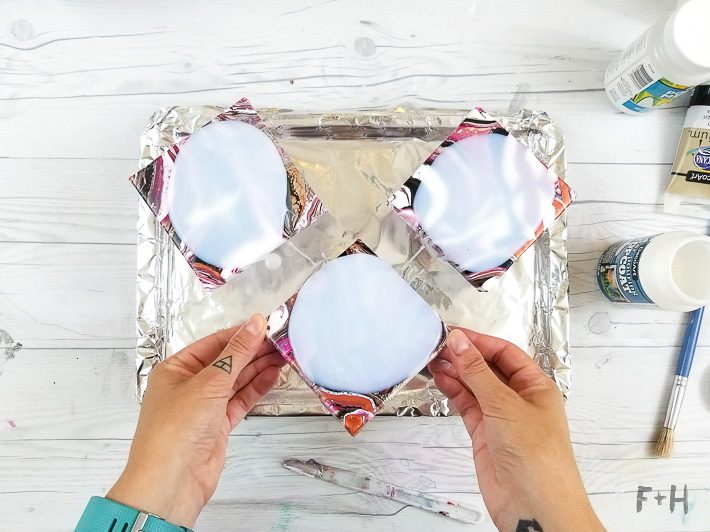
Step Four:
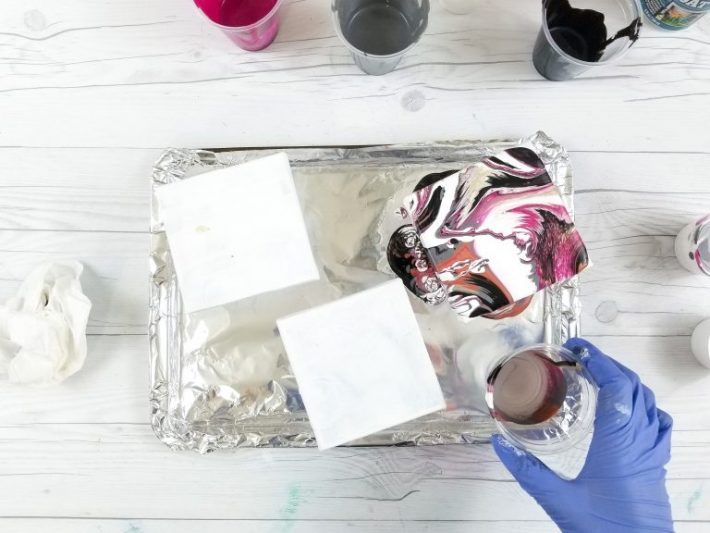
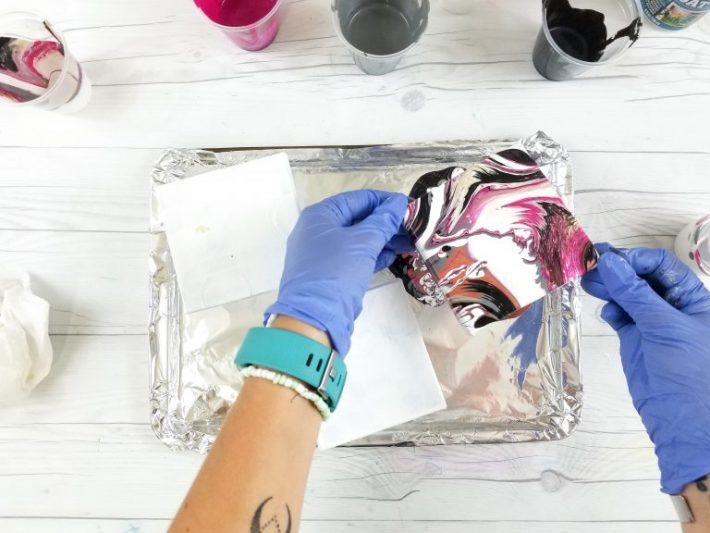
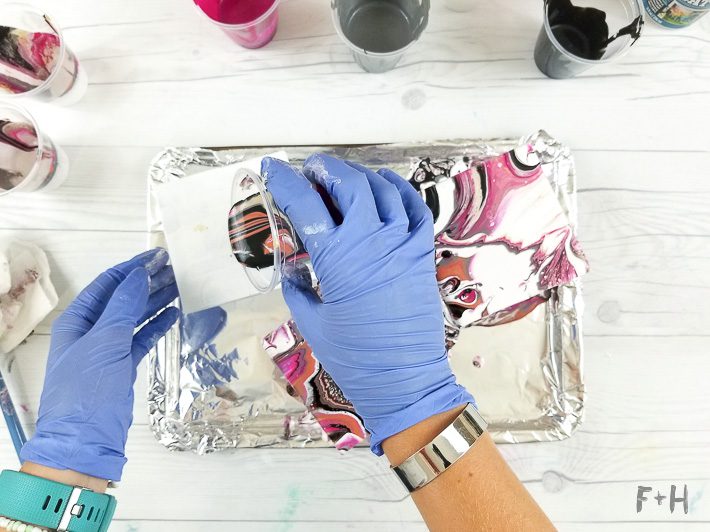
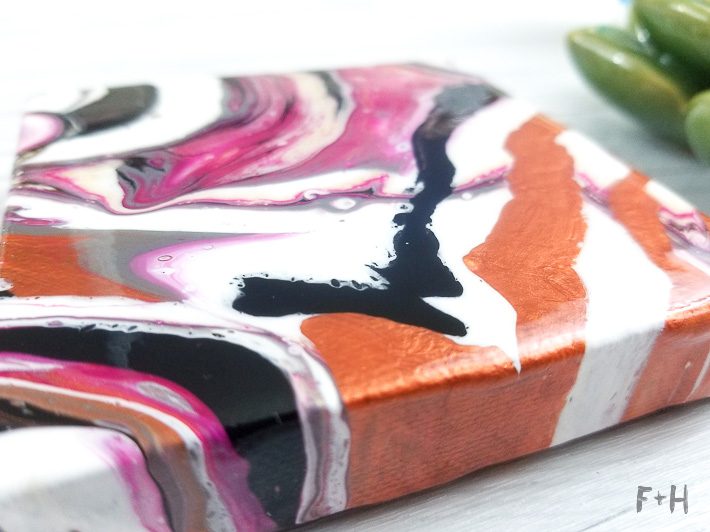
Now the fun & messy part! Make sure you are wearing some kind of gloves for this part. Take your first cup of mix paint and slowly pour it over the first canvas. You can start in the centre or work your way from one corner to the other. The paint will start to flow and will run over the sides. Gently pick up the canvas and tilt it to help the paint flow evenly all over to cover all four edges.
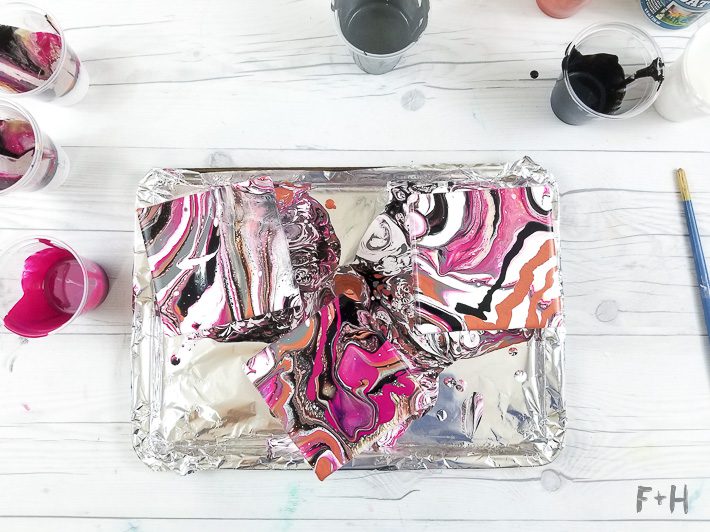
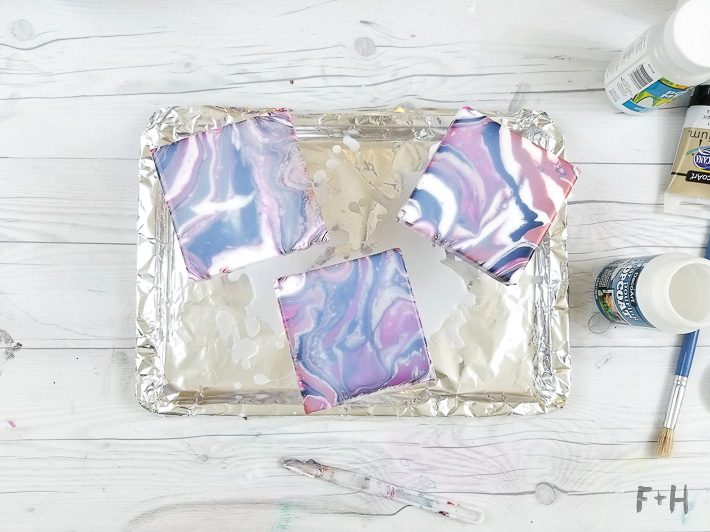
Now the hardest part – letting the triptych canvases dry! These little guys will take a long time to dry – up to 12 hours. The paint is quite thick and will take it’s sweet time to dry. Leave them be until they are hard to the touch.
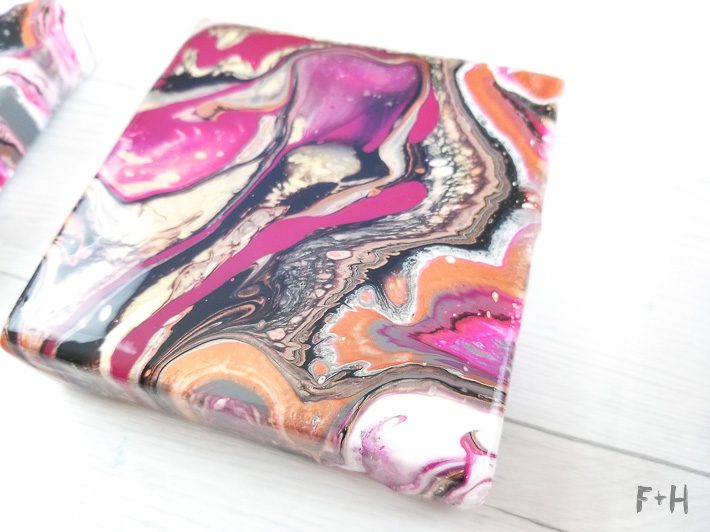
Step Five:
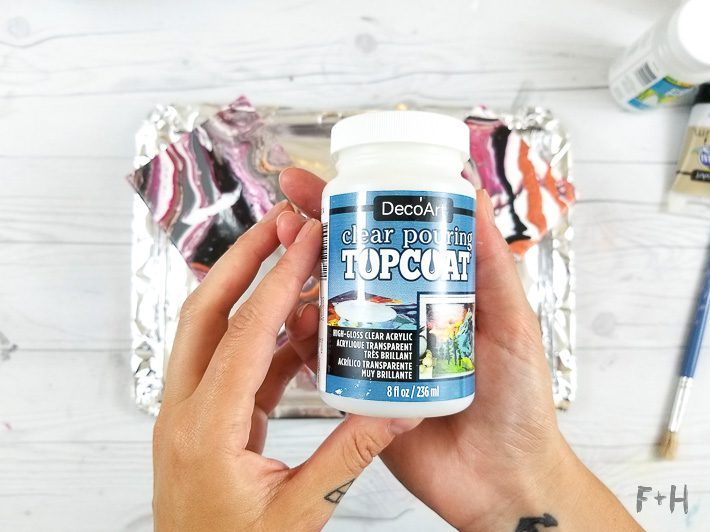
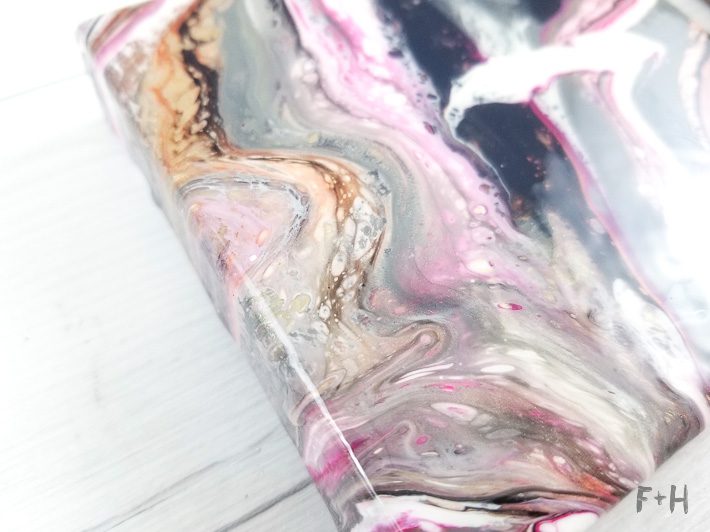
Once the paint is dry, you can add the Clear Pouring Topcoat to seal your acrylic paint pouring canvases. This pouring topcoat is so nice and gives the paintings a resin-like finish. It dries clear and super glossy! And again, you’re going to need to let these sit and dry at least overnight. Let them dry as long as possible so that they get a really nice hard shiny finish on them!


3 Comments
DIY Quote Monoprint with Gelli Plate Printing | Fox + Hazel
November 23, 2021 at 6:01 pm
[…] more DIY art tutorials? Check out this tutorial on Paint Pouring Triptych Canvases and these easy Black & White Embroidered Photo […]
Jenna
July 20, 2018 at 7:34 pm
I was wondering if you ever experience cracking or any other drying issues with this ‘recipe’.
Thanks!
torrielynn
July 22, 2018 at 9:46 am
Hi Jenna! The finish on these paintings were amazing! So smooth and glossy, and definitely no cracking or ant issues. The clear top coat dries to a resin like finish and is high gloss. It’s a dream!