
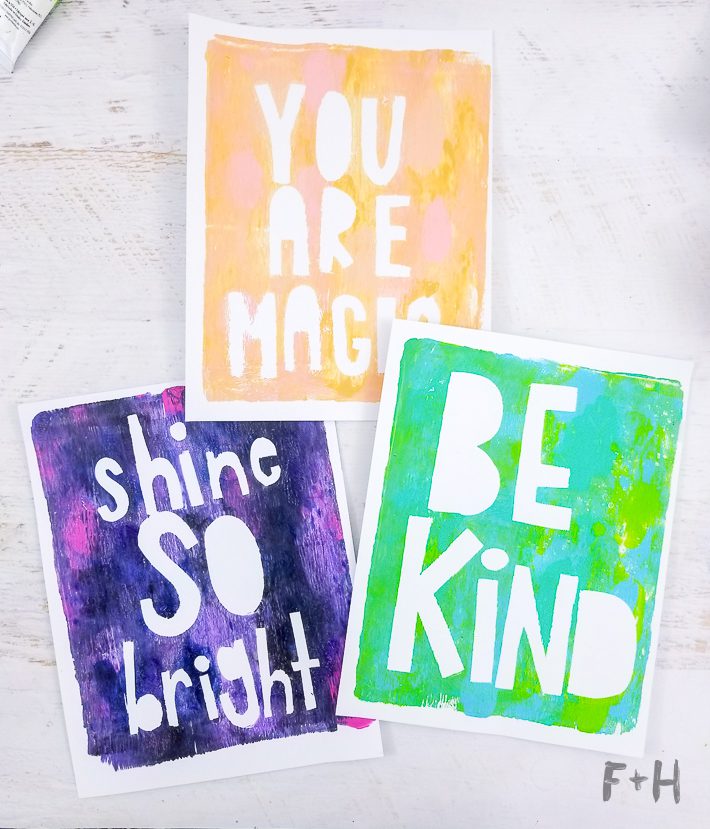
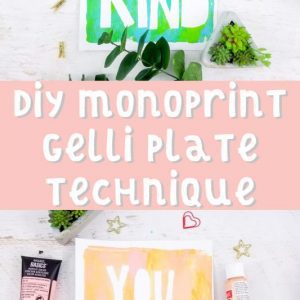
DIY Monoprint with Gelli Plate Printing
Some links in this post are affiliate links to products I love!
Gelli plate printing is probably one of my favourite art-making methods. There aren’t too many supplies needed and it’s just a lot of fun to play around with. If you’re not familiar with gelli plate techniques or gelli plate printing, let me fill you in! Gelli plates are a squishy flat rectangle made of super super firm gelatin (and other materials I’m sure) that allows you to draw/doodle/mask on and then create different prints from it. They’re really fun and there are a ton of different gelli plate techniques out there. A really simple and fun one is to create quote monoprints! So let’s jump into one of my favourite gelli plate techniques!
Supplies Needed for DIY Monoprint with Gelly Plate Printing:

- Gel printing plate (mine is well used and dirty. Don’t mind that!)
- White cardstock
- Acrylic paints
- Rubber brayer
- Pencil
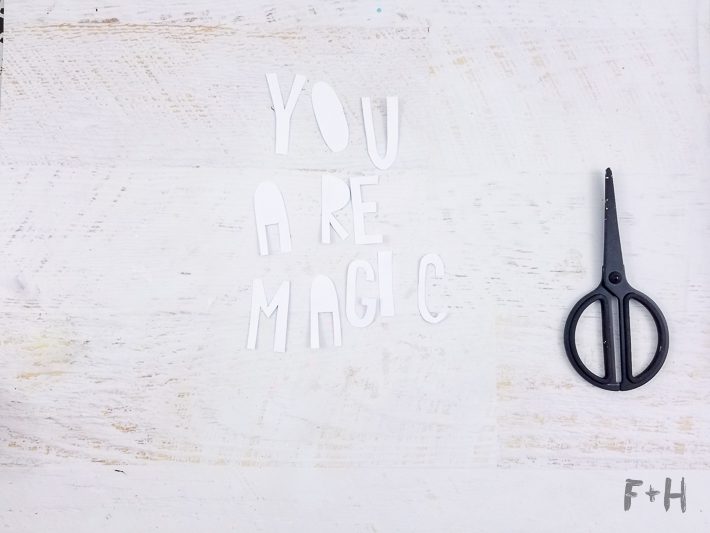
- Scissors
Step One:
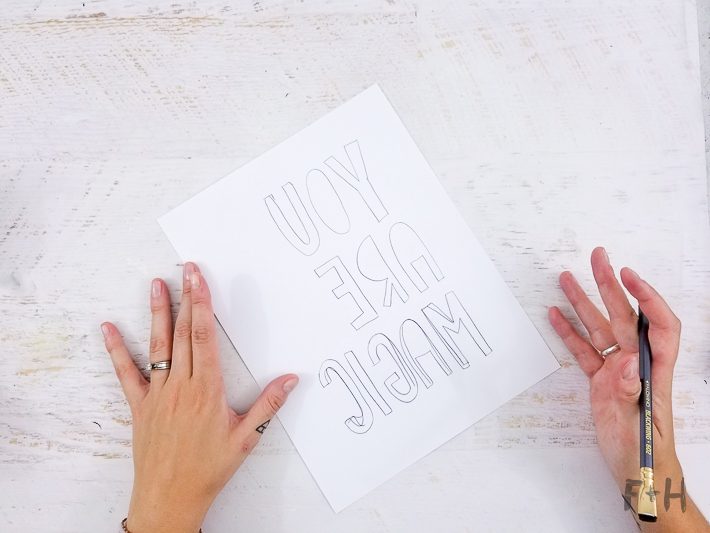
First things first for this monoprint: choose what you want it to say! Once you know what you want to say then draw out all the letters on a piece of cardstock. Tip: To create more funky letters with an imperfect feel I like to write all my letters backward! I think it helps me see the shape better and let go of making all the letters “perfect.” You can write your letters however you’d like, just as long as they are chunky funky ones!
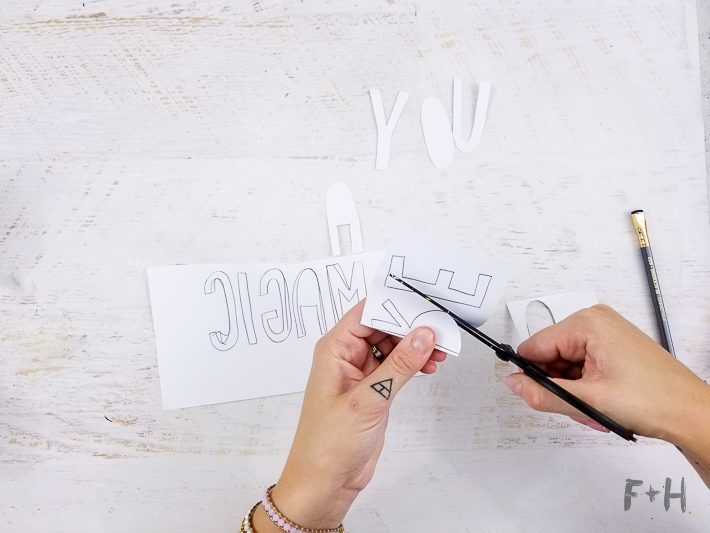
Step Two:
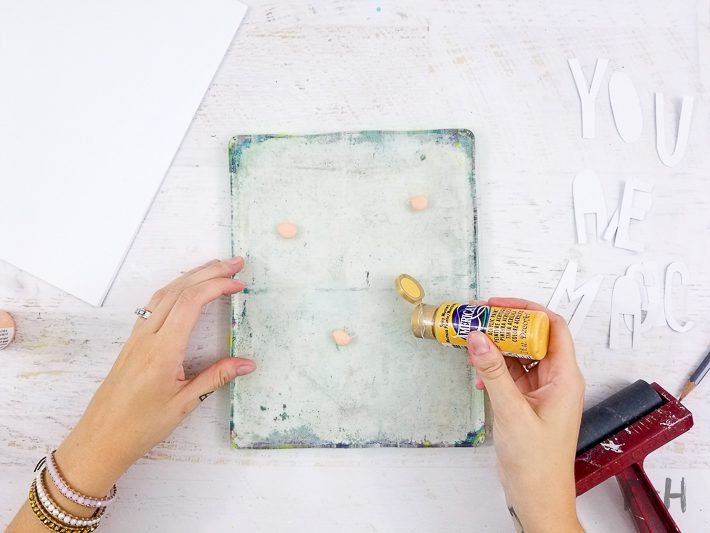
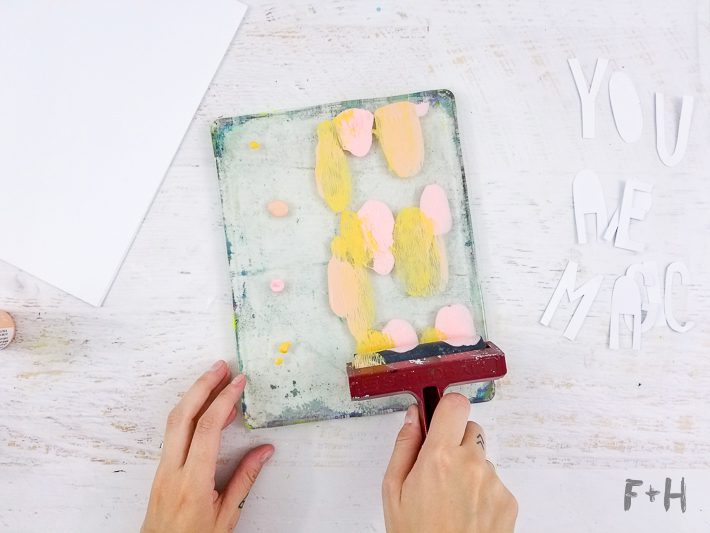
Grab 2-4 different shades of acrylic paint and squirt a few dobs out on the gelli plate. This does not need to be precise! Just be sure to choose colors that blend well together since they will mix. Use the rubber brayer to roll the paint all over the gelli plate in an even (thickness, not color) coat. Do notice which paints dry quicker, which like to bead, etc. This can affect the outcome of the final print.
This is the step where you could use some tools to draw or create patterns in the paint. Something as simple as the end of a paintbrush can be used to draw in the paint. I chose to leave mine solid, but you are welcome to experiment!
Step Three:

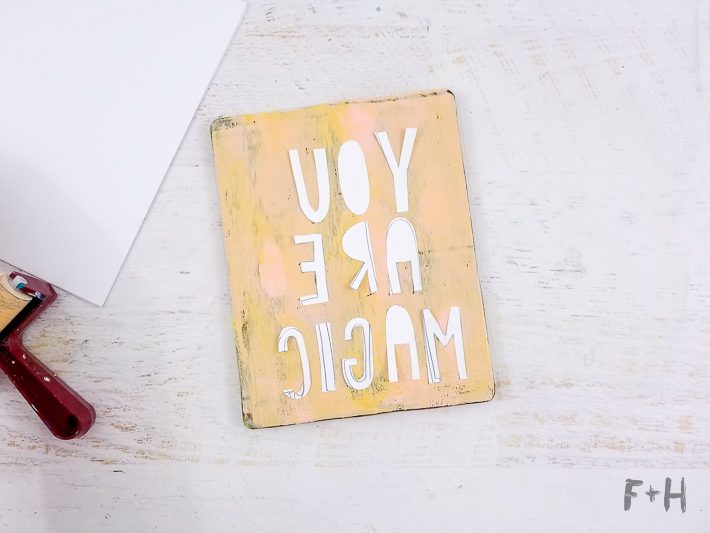
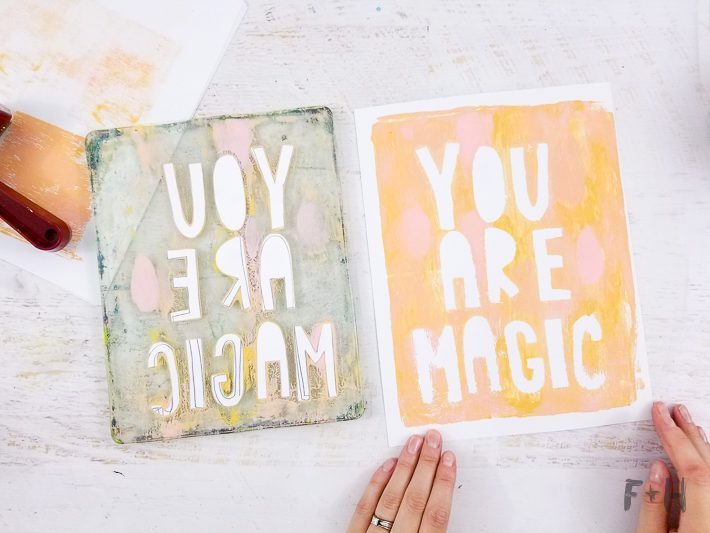
Place your cut out cardstock letters on your gelli plate. NOTE: Place all your letters BACKWARDS. Imagine you are looking at a window and seeing the letters from the backside. This is how you should place down your letters so that your monoprint comes out with the text readable. Be sure not to slide the letters around once you’ve placed them.
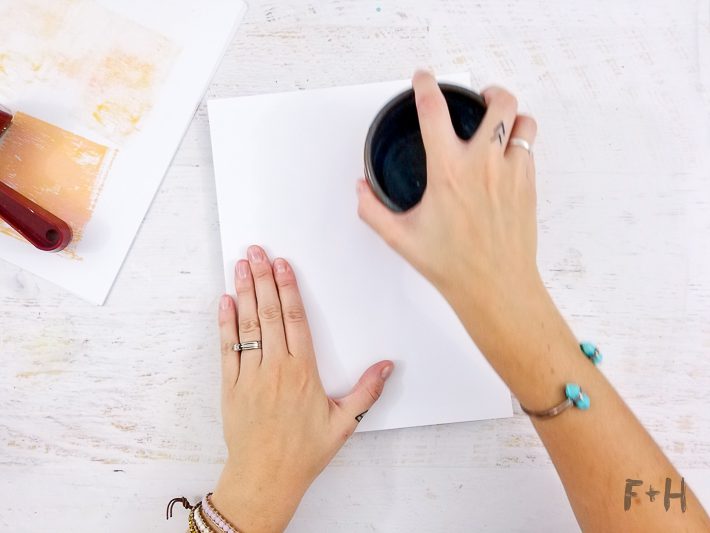
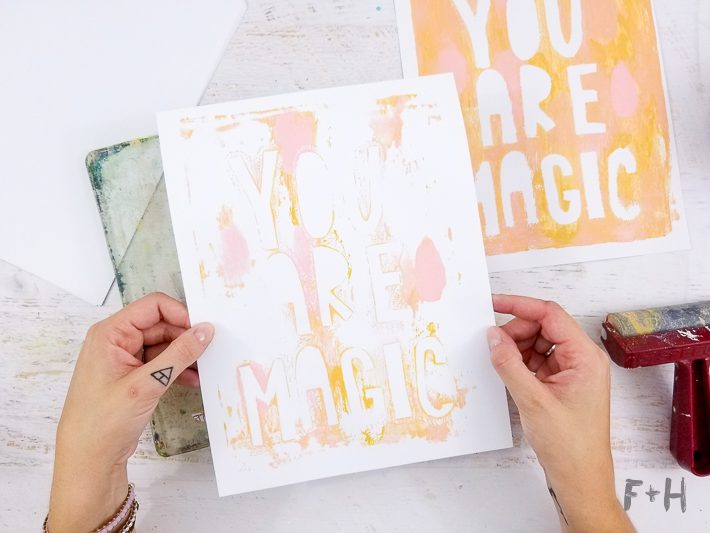
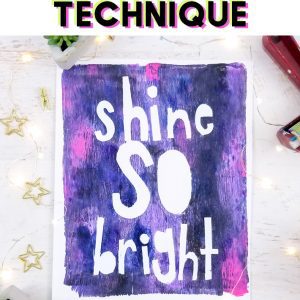
Once your letters are on the gelli plate, place a sheet of cardstock as squarely as you can on top of it all. Using your hand, the brayer or a flat hard surface, firmly rub the entire piece of cardstock. Make sure to rub it all evenly so that you get an even print! Once you think it has gotten a good rub, grab a corner and peel off your brand new monoprint! Tip: You can keep pulling prints as long as there is paint on the gelli plate. The following prints will not come out as bold, but are still a really fun look like these:
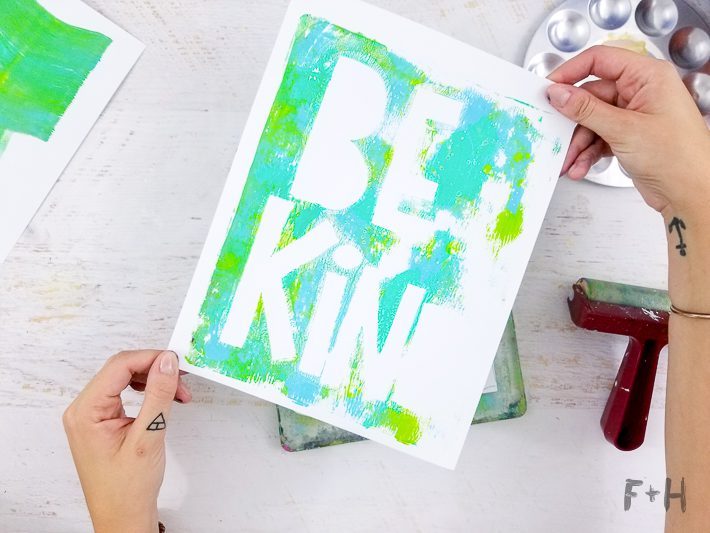
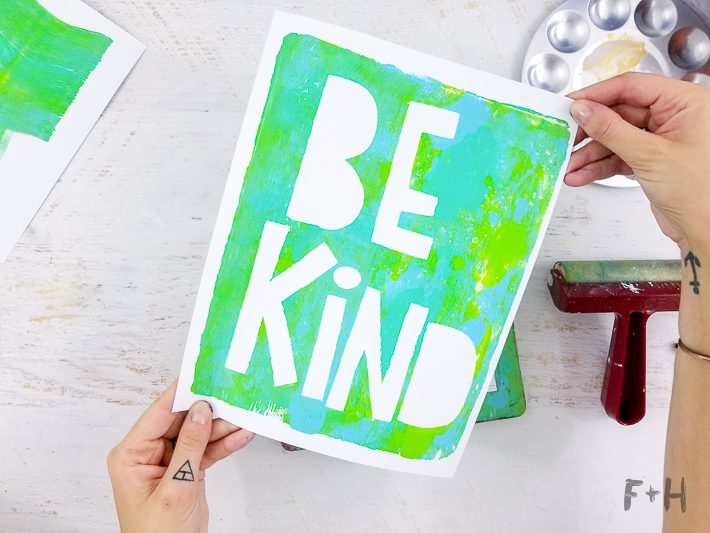
You can switch up your letters and color palette to create an infinite number of monoprint designs. This gelli plate printing method is really versatile!


1 Comments
How To Carve Rubber Stamps Tutorial | Fox + Hazel
April 12, 2026 at 5:01 pm
[…] I hope this tutorial on how to carve rubber stamps and how to make stamps from erasers gave you the confidence to just go for it! It’s one of those crafts that looks intimidating but is actually super approachable once you get started. Grab your supplies, download the free template, and have fun with it. And if you make some stamps, I’d love to see them, so tag me on Instagram!If you like art tutorials like this, then head over to my post on making Scandinavian Flower Envelope Art or How to Make Monoprints with a Gelli Plate! […]