
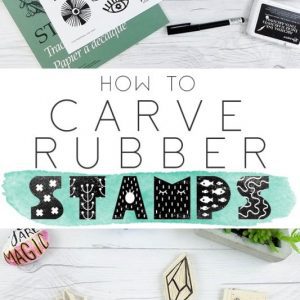
How to Carve Rubber Stamps – DIY Hand Carved Rubber Stamp Tutorial
Some links in this post are affiliate links to products I love!

If you’ve ever wondered how to carve rubber stamps ( or how to make stamps from erasers ), you are in the right place! I started carving my own stamps a couple of years ago for my art journals, and honestly, once I saw stamp carving online I knew I had to try it. I loved the freedom of creating my own designs. No more spending hours hunting down a stamp I actually liked! If you’re new to it, DIY rubber stamp carving might seem a little daunting at first, but I promise it’s really easy once you understand the basics! This hand-carved rubber stamp tutorial walks you through every step, and I’ve even included a free stamp carving template to get you started. Keep reading and let’s make some stamps!

Before we get into how to carve rubber stamps, you’ll need to grab a few beginner stamp carving supplies:
- Stamp carving blocks OR
- white erasers
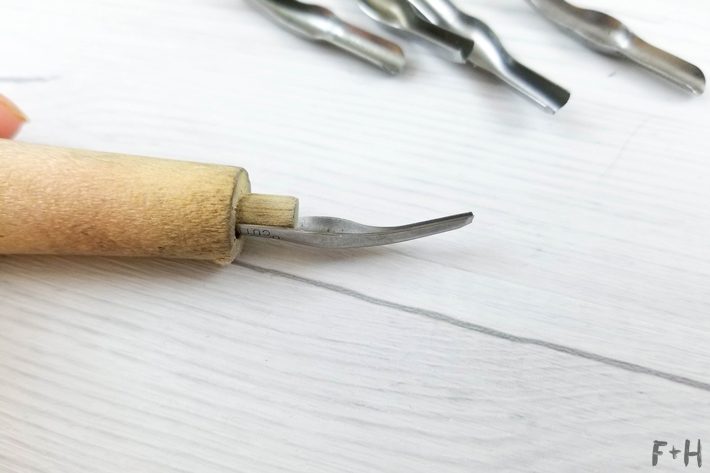
- linoleum cutter handle + blades
- tracing paper
- soft lead pencil
- X-Acto knife
- ink pads (this is my favourite black ink pad!)
- black marker
- this FREE STAMP TEMPLATE just for you
You can buy your stamp carving supplies individually, or grab the Stamp Carving Kit by Speedball to start. Just a heads up though — the kit only comes with two blades and one rubber carving sheet. It’s fine for dipping your toes into DIY rubber stamp carving, but it’s not super versatile long term. Personally I’d recommend getting a separate linoleum cutter and rubber sheets so you have access to the full range of blades. Looking back, that would have been more efficient and cheaper in the long run!
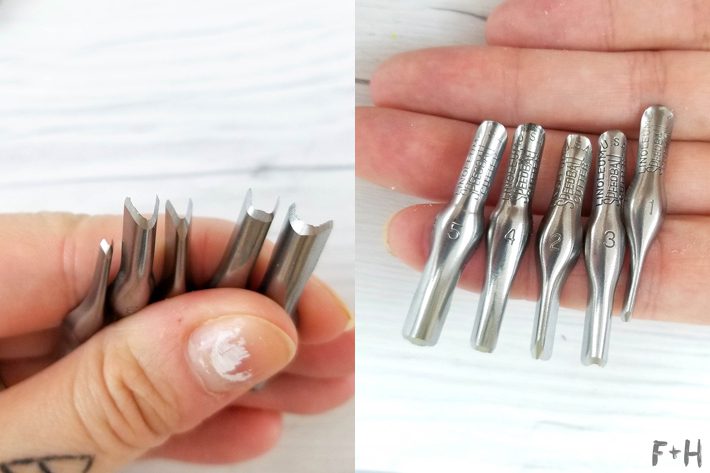
Understanding Your Stamp Carving Blades
Here’s a quick breakdown of the blade range so you know what you’re working with before you start stamp carving for beginners:
- Blades #1-3 are V-shaped cutters in increasing sizes. The #1 is the finest and perfect for detail work.
- Blade #4 is a flat-bottomed square blade, best for carving away large areas quickly.
- Blade #5 is a large U-shape, also great for clearing big areas fast.
Now that you know your tools inside and out, let’s get into the fun part!
How To Carve Rubber Stamps
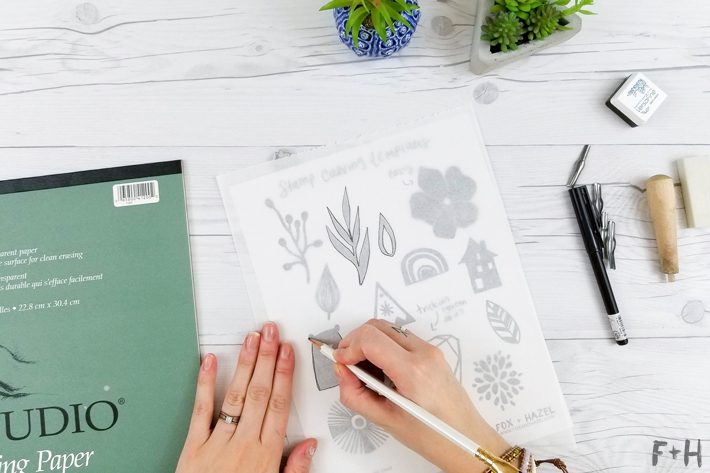
STEP 1: Trace Your Design onto Tracing Paper
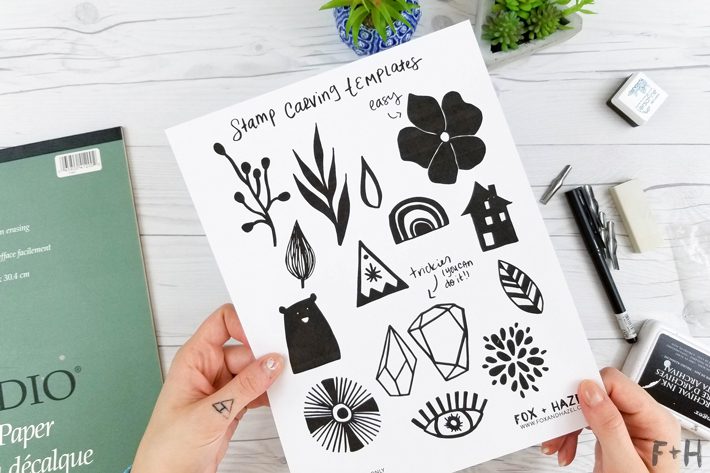
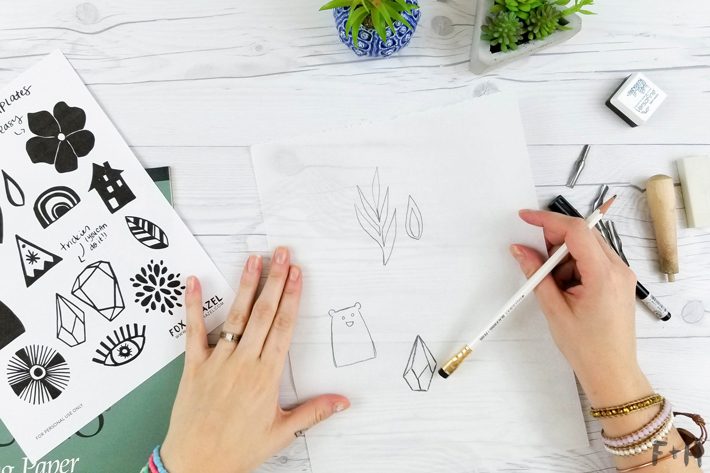
To help you get started with rubber stamp carving, I’ve put together a free stamp carving template with designs that range from easy to moderate. Sometimes the hardest part of stamp carving for beginners is just coming up with what to carve! So hopefully this takes that pressure off!
One really important thing to remember before you start: whatever image you carve stamps in reverse. This has tripped me up so many times! So if you’re carving a word, a directional image, or anything asymmetrical, make sure you invert the image before you carve it.
Now grab your tracing paper and trace over your chosen design. Include as much detail as you’d like. When you’re just starting out with DIY rubber stamp carving, I’d recommend going for the simpler shapes first. The stem, vine, and leaf designs on the template are perfect beginner options.
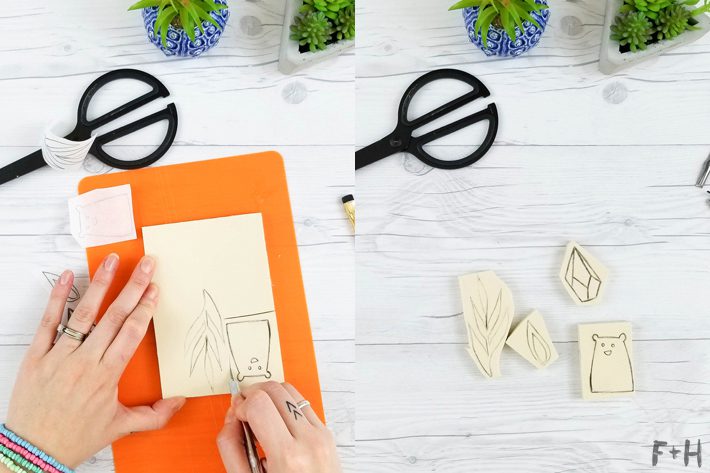
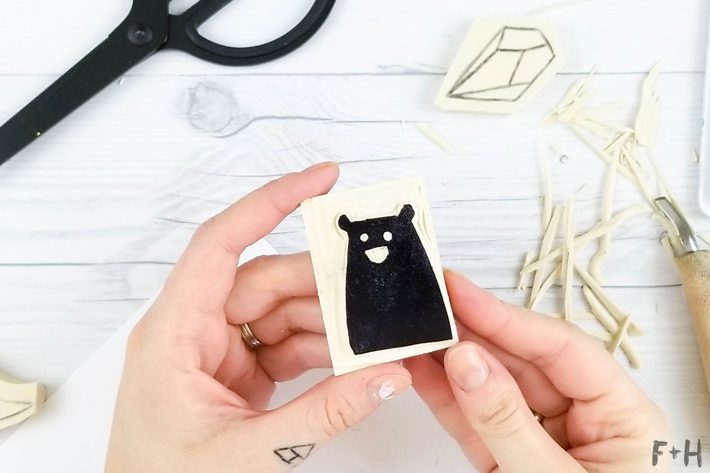
STEP 2: Transfer Your Design onto the Rubber Block
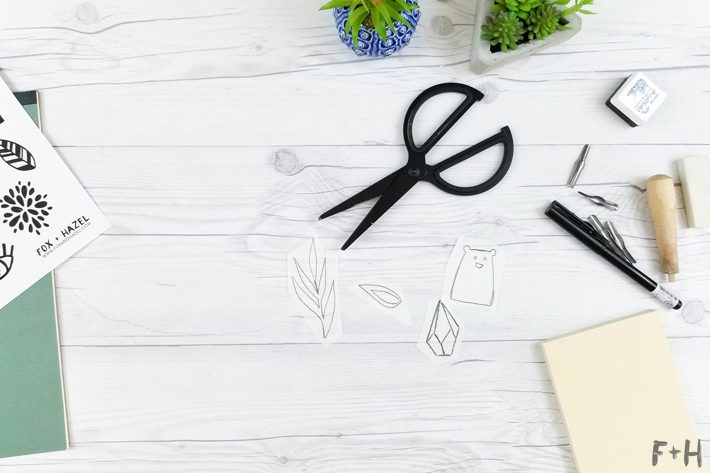
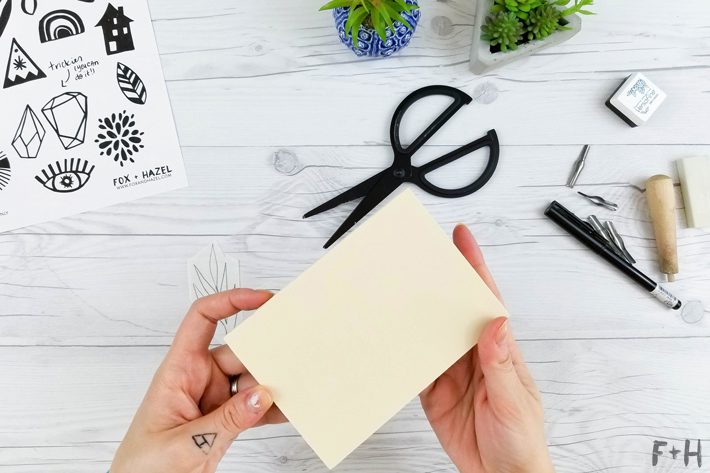
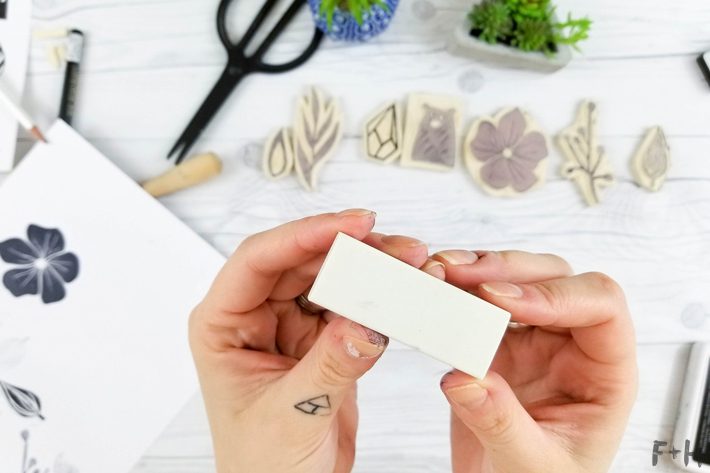
Cut out your tracings and transfer them onto your rubber sheet by placing them pencil-side down and rubbing firmly with the back of a pen. The image should transfer easily and leave a clear rubbing on the rubber surface. Next, use your craft knife to cut out some rough stamp shapes around each design. Make sure you leave enough rubber around the edges to use as a grip when stamping. Trust me, if you don’t leave enough to hold onto, stamping gets really tricky really fast! Once your design is transferred, you’re ready to start cutting!
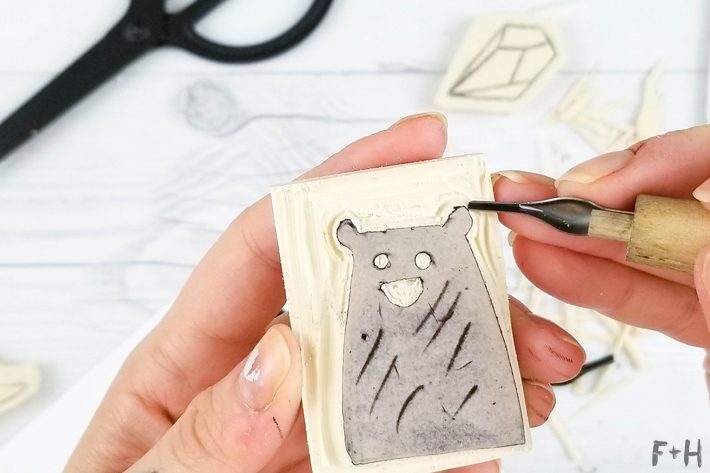
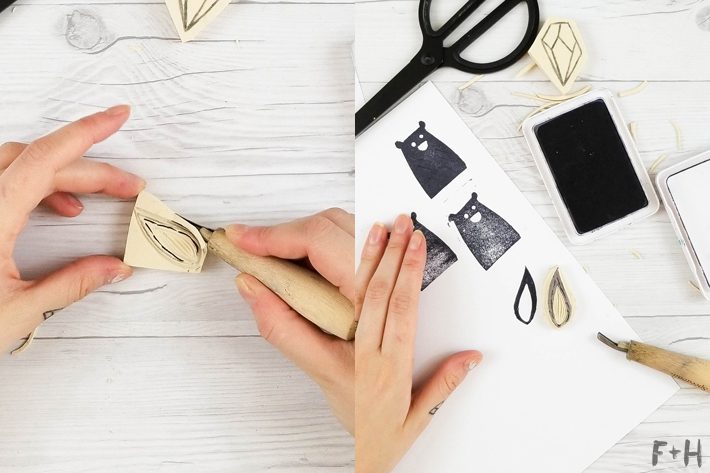
STEP 3: Start Carving Your Hand Carved Rubber Stamp
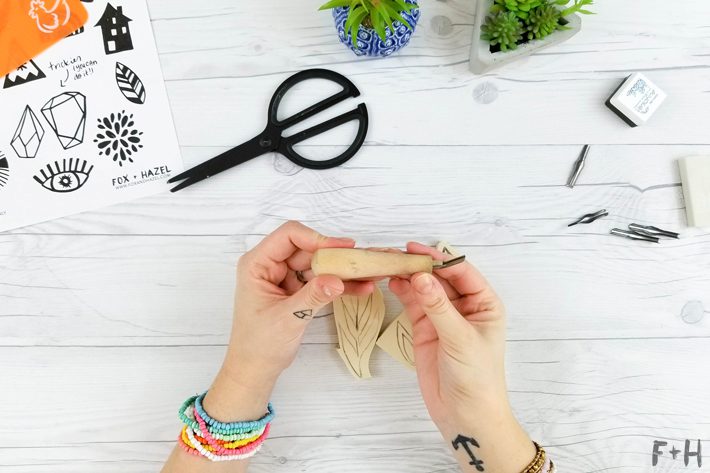
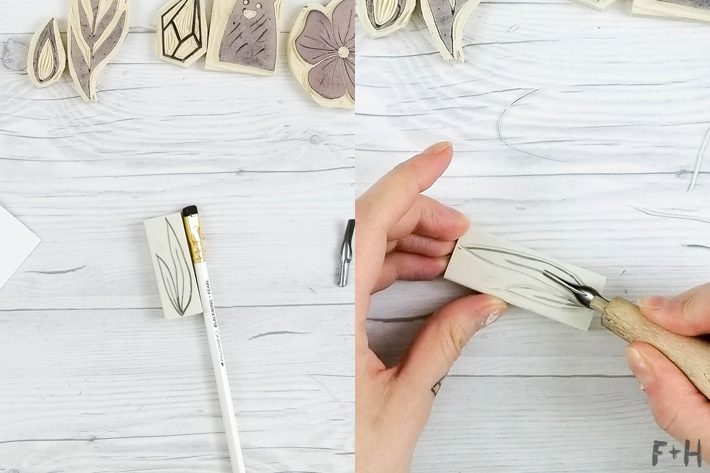
Start with the #2 blade to carve the outline of your design. My personal method for stamp carving is to carve the outline first, then remove the major negative spaces, then go back in for details. That’s just how my brain works so feel free to find your own rhythm!
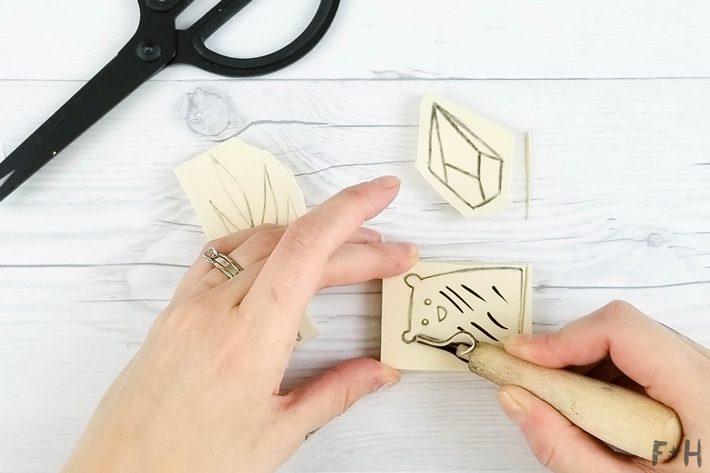
A couple of tips I swear by for rubber stamp carving:
Stop your cuts a little shorter than you expect. It is so easy to overcut a line, especially when you’re getting started. You can always carve away more rubber, but you can’t add it back once it’s gone. Slow and steady wins this race!
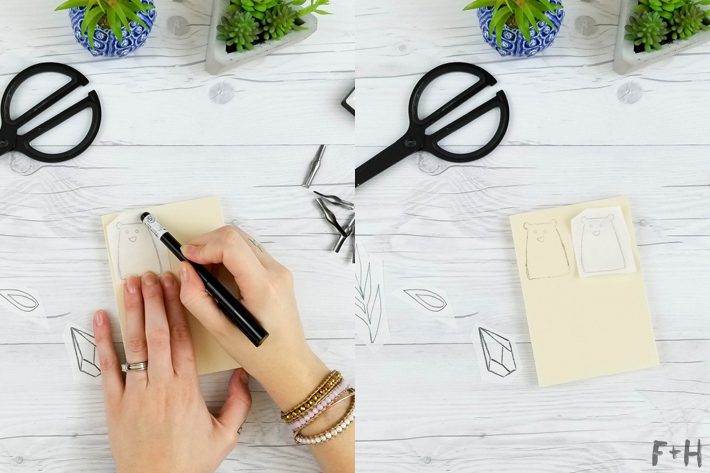
Use a marker to colour in the areas you want to keep. Then carve away everything else. This is super handy if you have a hard time visualizing the negative space in your design, which same.
Keep your blade steady and rotate the rubber sheet instead. This gives you way smoother, more controlled cuts than trying to steer the blade around curves.
STEP 4: Test, Refine & Finish Your Hand Carved Rubber Stamp
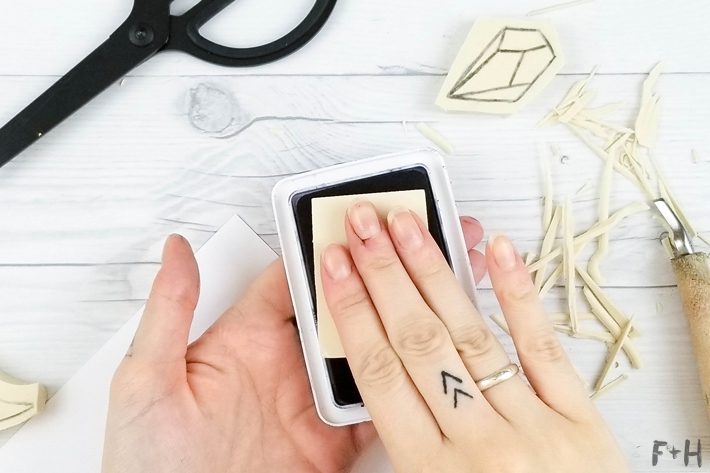
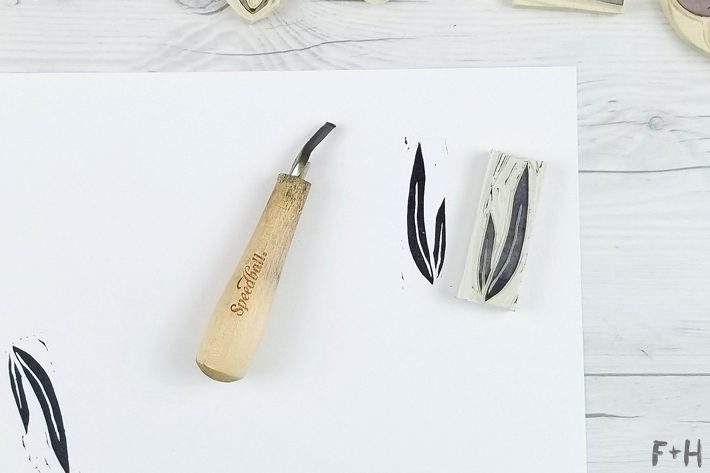
Once you’ve carved your whole design, it’s time to test it out! Press it onto an ink pad and stamp it onto some scrap paper to see how it looks. Don’t stress if it comes out a little wonky on the first try, that’s completely normal and honestly part of the charm of making your own DIY hand carved rubber stamps! Go back in with a #1 or #2 blade to clean up any rough edges or details until you’re happy with it.
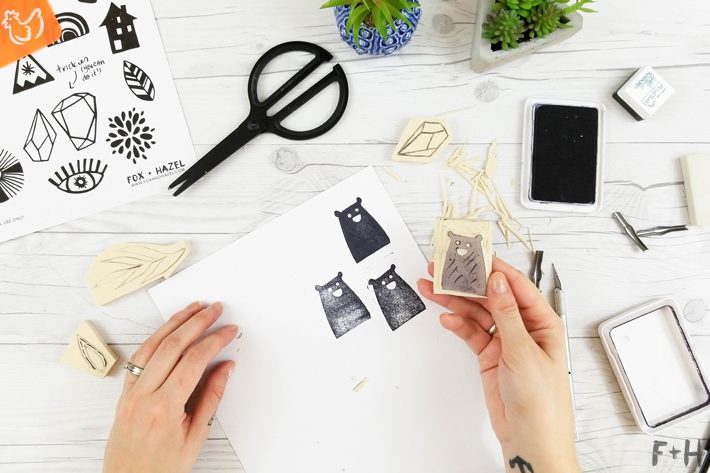
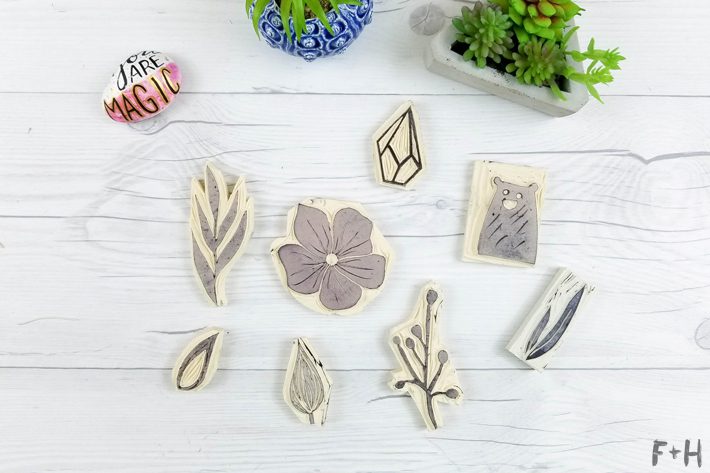
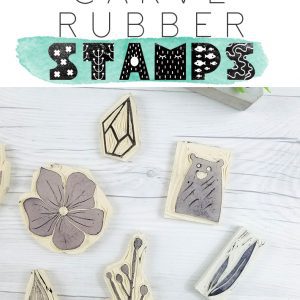
And just like that, you’ve finished your first hand carved rubber stamp! Stamp carving really isn’t too hard, and fair warning, it gets addictive fast. I love making simple repeatable shapes for patterns, ghost images, and motifs. Once you’ve got the easier designs down, challenge yourself with something trickier like straight-lined gem shapes. Take your time, don’t overcut, and you’ll be amazed at what you can make!
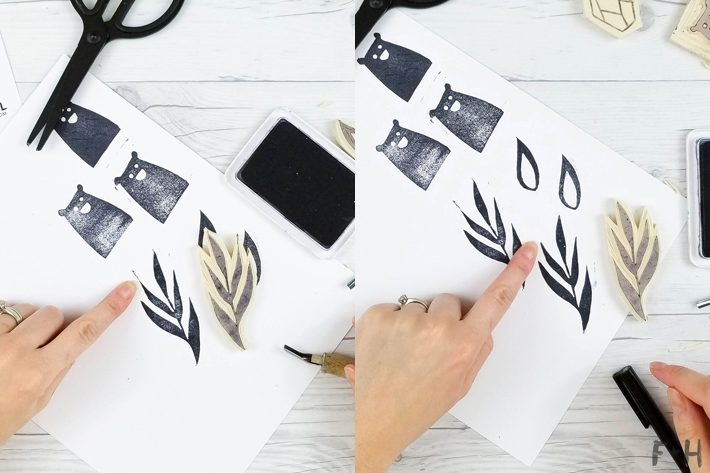
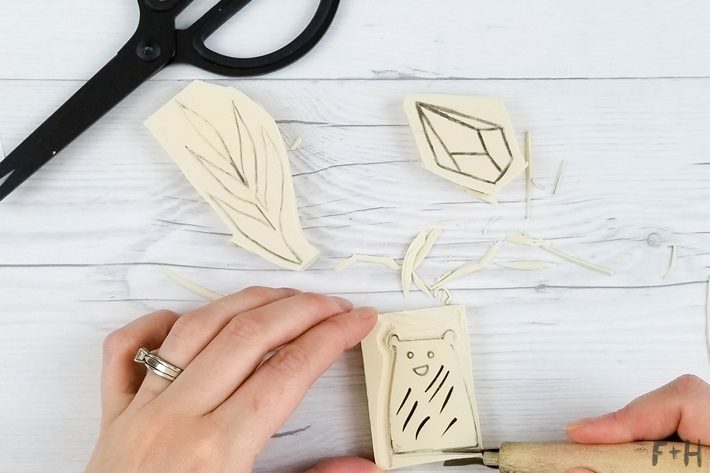
You can see here on this stem stamp that I had some extra bit around the outside of my design that I did not carve enough. This is totally normal and easy to fix. Just carve away those areas until they are deeper than your design, and it’s fixed!
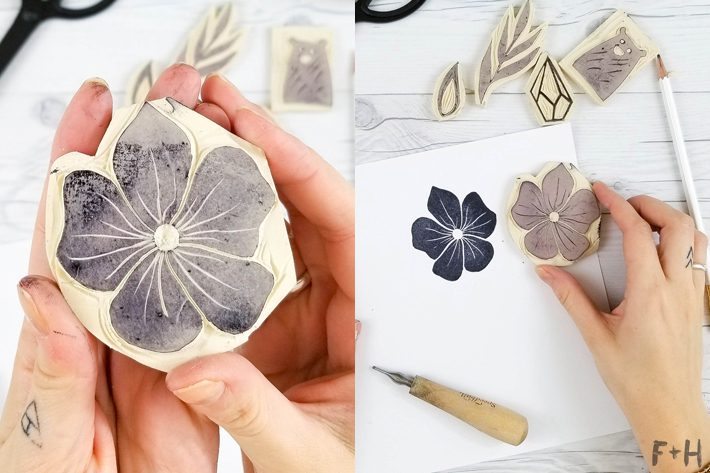
Another easy design on this template I shared is this flower design! There’s minimal carving needed and it makes a lovely stamp! The veins in the petals here are also a great use of the #1 blade, which is the finest and smallest one. It creates really lovely details on your stamps!
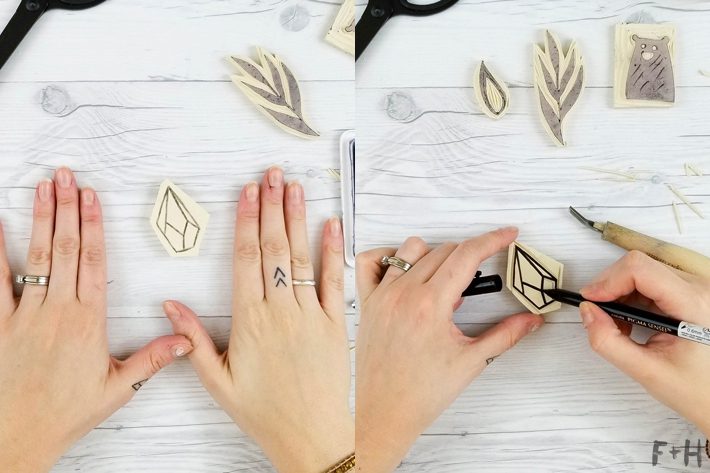
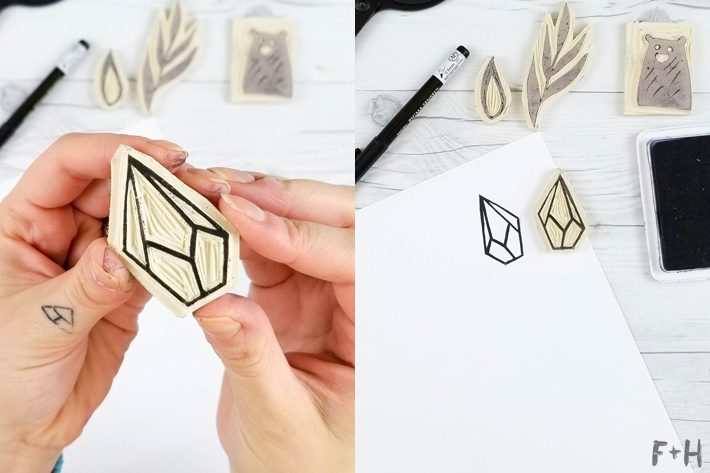
Once you feel like you’ve got a handle on carving the easier shapes, then I challenge you to try some of the trickier designs! Like this gem shape. Carving straight lines can be hard, but so rewarding when you’re left with a beautiful design like this! Again, the key is just to take your time and stop your cuts shorter than you’d expect so you don’t overcut. You can do it!
BONUS: How To Make Stamps From Erasers
Did you know you can also do DIY rubber stamp carving on plain white erasers? They’re cheap, easy to find, and actually carve really nicely! The only limitation is their size, so they work best for smaller designs. Just follow all the same steps above. The results look seriously adorable and it’s a great low-commitment way to practise stamp carving for beginners before you commit to a full rubber sheet.
Before you know it, you’ll have your very own collection of hand carved rubber stamps and a serious new obsession on your hands. You’re welcome!
I hope this tutorial on how to carve rubber stamps and how to make stamps from erasers gave you the confidence to just go for it! It’s one of those crafts that looks intimidating but is actually super approachable once you get started. Grab your supplies, download the free template, and have fun with it. And if you make some stamps, I’d love to see them, so tag me on Instagram!
If you like art tutorials like this, then head over to my post on making Scandinavian Flower Envelope Art or How to Make Monoprints with a Gelli Plate!

12 Comments
Create Stunning DIY Wall Art with Stamps
March 16, 2025 at 10:04 am
[…] How To DIY Hand Carved Rubber Stamps | Fox + Hazel – https://foxandhazel.com/diy-hand-carved-rubber-stamps/ […]
10 Simple Craft Workshop Projects You’ll Love to Teach! – The Serial Creative
June 18, 2024 at 8:51 am
[…] Photo from Fox and Hazel. […]
How To Create an Easy Watercolor Art Journal Page | Page Flutter
February 17, 2022 at 11:51 am
[…] leaves. (If you want to learn more about how to carve your own stamps, I have a whole post about it HERE.) Use the stamps with the black Ranger ink to just stamp a bunch of different leaves and […]
Jenni
April 14, 2021 at 9:20 pm
THANK YOU! I am so excited to give this a try as I was gifted a Speedball starter kit today!!
Kimberly
January 29, 2021 at 3:10 am
Oh my!!! I absolutely LOVED your tutorial… and CANNOT WAIT to try this myself!!!
THHHANNNNNNNNNKKKKKKKKKKK YOUUUUUUUUUUUUUUUUUUUUUUUU
Torrie – Fox + Hazel
February 5, 2021 at 3:09 pm
You’re so very welcome Kimberly! I hope you have great fun carving stamps – it’s addiciting!!
Ruth
April 9, 2018 at 12:28 am
This is a great article and I found the process interesting and helpful. A word of caution tho’ from a klutz. Don’t hold your left hand in the way of your pointing blade. That’s a quick way to get a nasty cut or poke! My poor hands have suffered enough I’ve finally learned this. It may feel awkward, but try to wear a sturdy glove on that hand or keep it under your block.
torrielynn
April 9, 2018 at 6:43 am
Great advice for anyone concerned about getting a hand injury! I haven’t had an issue with it, but definitely a good idea for anyone worried about getting nicked.
stephanie
February 16, 2018 at 12:41 pm
thanks for the template an great inspo!
torrielynn
February 18, 2018 at 11:14 am
You’re very welcome Stephanie!!
Teri
February 15, 2018 at 8:32 am
Yay! I have been wanting to create my own stamps for Bible journaling. I spend way too much time just trying to find one that goes along with my style. Thank you!!!
torrielynn
February 15, 2018 at 4:04 pm
You’re so welcome! I can’t be blamed though when you can’t stop carving stamps haha!